FREE Standard Shipping On All Orders $100 or More!*
Pool Opening: Saltwater Pool
Starting up a saltwater pool is similar to opening a regular pool, but there are some distinct differences that should be noted. It starts the same way as every other pool opening, and ends nearly the same way. It's just a few steps in the middle that require some rethinking.
1. Open the Pool
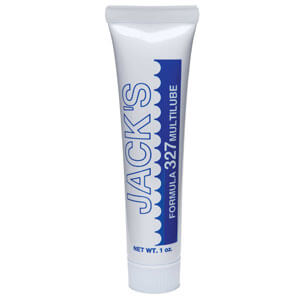
The first step is to remove the pool cover, clean it, dry it, and store it somewhere rodents and insects can't get into it. Once that's done, replace the drain plugs on all pool equipment. Use fresh Teflon tape on the threads to make sure the plugs are nice and snug. If your drain plug has a gasket or o-ring, check to see if they're in good condition, and add a small amount of silicone pool lubricant. Reconnect any pool equipment you removed for the winter. Apply pool lube to the pump lid o-ring, and replace the pressure gauge on the pool filter, if needed.
If you removed your salt cell for the winter, place it back in position with a small bit of pool lube on the union o-rings. Tighten salt cell unions fully, and plug the salt cell into the controller. Plug the controller into the outlet, but keep the salt system OFF for now.
Check over the entire pool equipment and plumbing system, and test the tightness of all clamp bands, hose clamps, unions, and other connections. Open all valves so the water can flow freely through the filter system.
Once your equipment and pool lines are all set, remove the pool plugs. Your skimmers, wall returns, and cleaner lines should have been plugged tightly throughout the winter. You will know the lines stayed empty if water rushes in to fill the pipes as you remove the plugs. At this point, you're ready to add water back into the pool so it returns to normal levels. In most cases, this is about halfway up the mouth of the skimmer.
2. Start Up the System
Before you can restart your pool system, you first need to prime the pump. Fill the pump with water, or for above ground pools, just open the valve to flood the pump basket. Check one more time that everything is tight, all the winterizing plugs have been removed, and system valves are open. If you have a multiport valve, set it to the "Drain to Waste" or "Backwash" position, and roll out the backwash hose. This lets you discharge any pool antifreeze or winter gunk from the lines.
Open the filter's air relief bleeder valve on top of the filter tank, and turn on the filter pump. Run for several minutes with all lines fully open. Then turn off the pump, and empty the pump basket. Switch the multiport valve to the "Filter" position, and turn the pump back on. Watch the filter pressure closely—if it spikes to over 30 psi, shut off the pump quickly, and find out why. When the air relief valve starts to spray water, close it. Inspect your entire system for anything dripping or leaking.
Do NOT turn on the salt cell just yet! We'll get to that in a bit.
3. Balance the Water Chemistry
Before we ask the salt cell to start generating chlorine, the saltwater chemistry must be tested and adjusted when you open your pool. When all the tests are within the proper ranges, your pool water is considered balanced. Start by adding a stain and scale preventative, such as Stain Away or Metalfree. If you have any metals, excess calcium, or (in the case of saltwater pools) high Total Dissolved Solids, this extra step will help keep them in solution so they don't adhere to pool surfaces. Unbalanced pool water is especially prone to staining and scaling issues, and shocking the pool can exacerbate the issue if the water isn't properly treated.
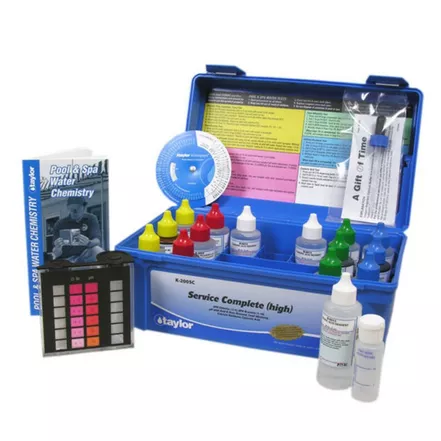
Be sure to use a reliable test kit, such as the Taylor K-2005 or the AquaChek Select 7-Way Test Strips, to measure your water balance. Test kit reagents and test strips generally last for 1–2 years, if kept in a dark and cool location. But we recommend replacing them with fresh materials at the beginning of each swim season to ensure the most accurate test results. For saltwater pools, follow the water chemistry recommendations of your salt cell manufacturer. Most recommend an ideal pH of 7.4–7.6 (7.2–7.8 acceptable), Total Alkalinity between 80–120 ppm, and Calcium Hardness around 200–400 ppm. Use water balancers to adjust your water into the proper ranges.
Cyanuric Acid levels are very important for saltwater chlorinators. Every salt system manufacturer recommends adding stabilizer or conditioner to protect the chlorine against quick degradation by the sun. An ideal level of 30–50 ppm is recommended to prevent the salt cell from overworking. If levels fall below 30 ppm, add stabilizer.
4. Shock the Pool With Chlorine
Be patient, and wait to shock the pool until you've properly balanced the water. If you shock first, your chlorine may not work efficiently, and you'll put your pool at risk for stains and scaling issues. Once your water is balanced, you're ready to shock the pool!
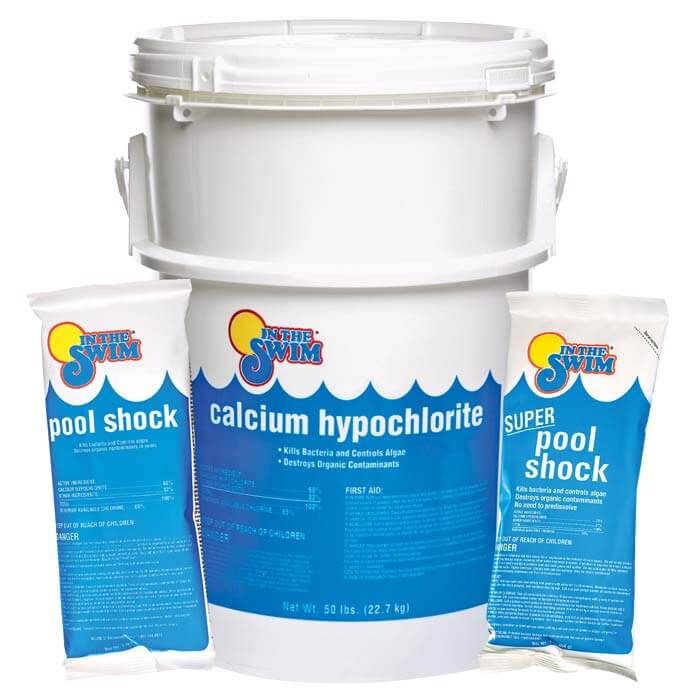
Shocking with powdered chlorine shock or liquid chlorine is an important step in sanitizing pool water. Super-chlorination breaks apart contaminants in the water, helping control bacteria and algae that may have taken up residence over the winter.
If your pool water is clean and clear, you'll need much less chlorine than if your pool is green and/or cloudy. A clear pool can use 1 lb of pool shock per 10,000 gallons, but a green pool may require as much as 3–5 lbs per 10,000 gallons. If it's still green after 24 hours, keep adding doses of shock until the water turns a blue-gray color, then add a bit more for good measure.
When there's no longer a green hue, test the water 12 hours after your last shock treatment. If the chlorine level has fallen near zero (so quickly), shock the pool again. But if you can test a good reading of Free Available Chlorine, an additional shock treatment is not necessary.
5. Test Salt Levels
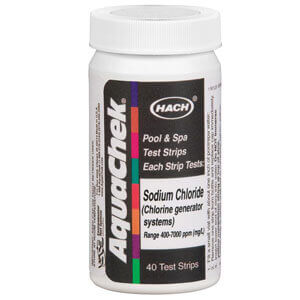
Every saltwater system manufacturer has specific recommendations for the salt level, a.k.a. salinity level, of the pool water. This is the most important component of proper salt cell operation, after all! Most salt systems have salt sensors and low salt indicators, and will shut down at very low salt levels.
Use a reliable salt tester to check the salinity levels of your saltwater pool when you first open the pool. Test strips are a quick, easy and inexpensive way to test, or we also have digital salt meters that measure levels electronically and display results on a screen. There's also a dropper-style tester, the K-1766 salt test kit. Remember, even if your salt system displays a salt reading, it's always a good idea to test the water yourself to confirm. The onboard testing units aren't always the most accurate, and you'll have no way to know if they're calibrated unless you test on your own. Better safe than sorry!
6. Add More Salt, if Needed
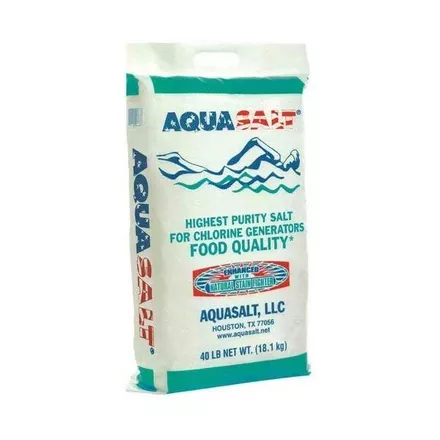
Most saltwater pools need a booster dose of salt added in spring, especially if you lowered the water level for winter. This is usually around 10%–20% of the entire pool water volume. In most cases, this requires one or two bags of pure pool salt, such as Aqua Salt. Pour around the pool edge, and use a brush to help disperse and dissolve it.
Not sure how much salt to add? Here's a quick set of guidelines to get you started:
- 8.35 lbs. of pool salt will increase the salinity of 10,000 gallons by 100 ppm.
- 10 lbs. in 10,000 gallons increases by 120 ppm.
- 25 lbs. in 10,000 gallons increases by 300 ppm.
- 40 lbs. (1 bag) in 10,000 gallons increases by 480 ppm.
- 50 lbs. in 10,000 gallons increases by 600 ppm.
Never use solar salt, water softener salt, or winter salt treatment! These all contain impurities, which can cause stains or may even void your salt system warranty. Also, do not use salt intended for human consumption, as it may contain iodine or other additives. Pure NaCl pool salt only—100% sodium chloride.
7. Turn On the Salt System
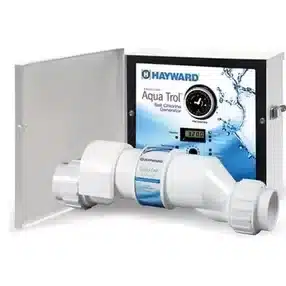
Finally, you are ready to start making your own chlorine! Assuming you already cleaned the salt cell last fall during your pool closing routine, you're in good shape to start the swimming season off right! Turn on the salt system, and set the sanitation modes as needed.
Be sure to test your water several times per week to fine tune chlorine production levels, and to maintain good pH, Total Alkalinity, Calcium Hardness, and Cyanuric Acid levels during the summer. Also keep an eye on your salt cell, checking it at least once per month to see if it needs cleaning. Scale deposits on your salt cell can hinder chlorine production and shorten the lifespan of the cell.
Voila! Your saltwater pool is now open! Key takeaways of today's blog post are to balance the water first, shock (heavily) with chlorine second, and finally, be sure the salt level is spot-on before turning on your salt cell. As always, if you ever have any questions about pool opening or general care and maintenance on your saltwater swimming pool, we're happy to help! Browse our massive catalog of blog content, give us a call, or send an email. We're here to help you make the most of swimming season, no matter what type of pool you have!