10% Off Sitewide Sale + Free Shipping No Minimum*
How to Paint a Pool in 5 Easy Steps
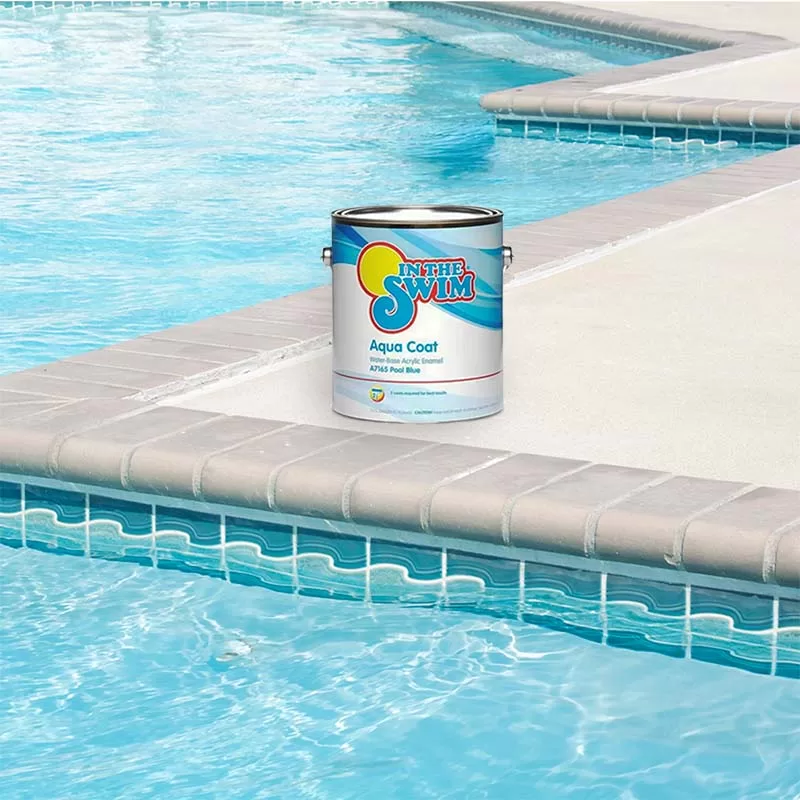
In this guide, we’ll be getting down to the business of prepping, painting, and accessorizing your pool. To reference information about paint type, pool type, amount of paint to buy, or any other purchasing-related questions, check out our Pool Paint Buyer’s Guide.
Let’s get started!
Step 1: Time Your Pool Painting Project
The weather and temperature have everything to do with how well and quickly a pool painting project will go. Typically, you should try to find a stretch of time of a minimum of one week, where there will be no rain and hopefully at least a few hours of sun during the day. This can be tricky during springtime. Avoid painting if the temperature is below 40°F, above 90°F, or if it is extremely humid. Avoid high winds that blow all kinds of spring tree debris into your pool.
Before and after painting, the pool needs to be very dry, unless you are using acrylic pool paint or epoxy primer. If you experience rain or wind blown debris before or soon after painting, get out there with a leaf blower and clean shoes, and clean out the pool of debris and rainwater as soon as possible.
Another thing to consider is how high the water table is prior to draining your pool. It is usually a bad idea to drain a pool too soon after (or right before) a large storm. The concern here is that the higher water table can “float” the pool. This happens when the forces pushing up the pool overwhelm the forces keeping the pool in the ground, and the pool literally floats out of the ground.
To avoid floating your pool, open up the hydrostatic relief caps that are plastered into the floor of plastered pools. Look for small white plastic circles in the floor. Chip out the plaster on the inside of the cap, and use large straight pliers to twist it out as soon as water gets low enough to reach the cap.
Step 2: Prep Your Pool for Paint
- Drain the pool and open hydrostats.
- Scrape away loose paint; repair and fill any cracks or hollow spots.
- Rinse and scrub with TSP (Tri-Sodium Phosphate) to remove oils.
- Acid wash the pool surfaces to roughen the surface.
- Rinse the pool to remove any acid or TSP residue.
- Pump out any remaining water and let dry completely (3-5 days).
- Tape up any lights, tiles, and fittings with painter’s tape.
Acid washing a pool for painting can be a hazardous procedure. This normally involves diluted muriatic acid, a flower watering can, and a garden hose to rinse quickly. It may be safer to use our TSP that you mix with water. It covers 800 square feet of surface area.
Follow all manufacturer’s directions on the Surface Prep Kit (or similar kits that include the TSP wash and the acid etching solution) closely to help you get through the prep process, and create a clean and rough surface to assist in your new paint bond.
Step 3: Painting the Pool
Now that your pool has been prepped and is completely dry, we’re ready to paint. If your pool has never been painted before, or if the surface is very rough, you should plan on adding a primer. Primers improve the bond and extend the more expensive pool paints. Depending on your pool surface type, there are many primers available, including epoxy and gunite.
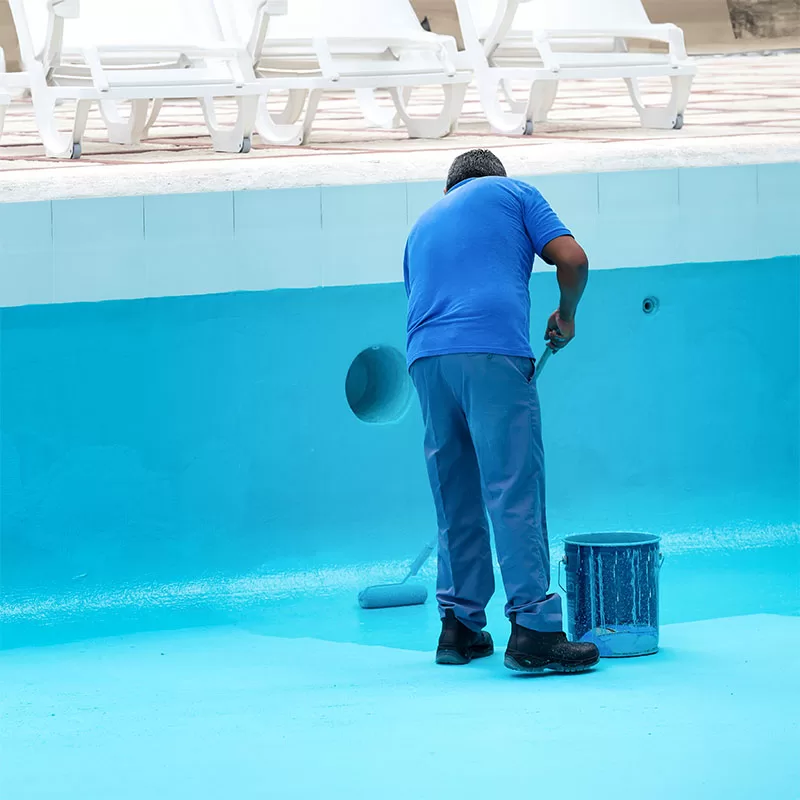
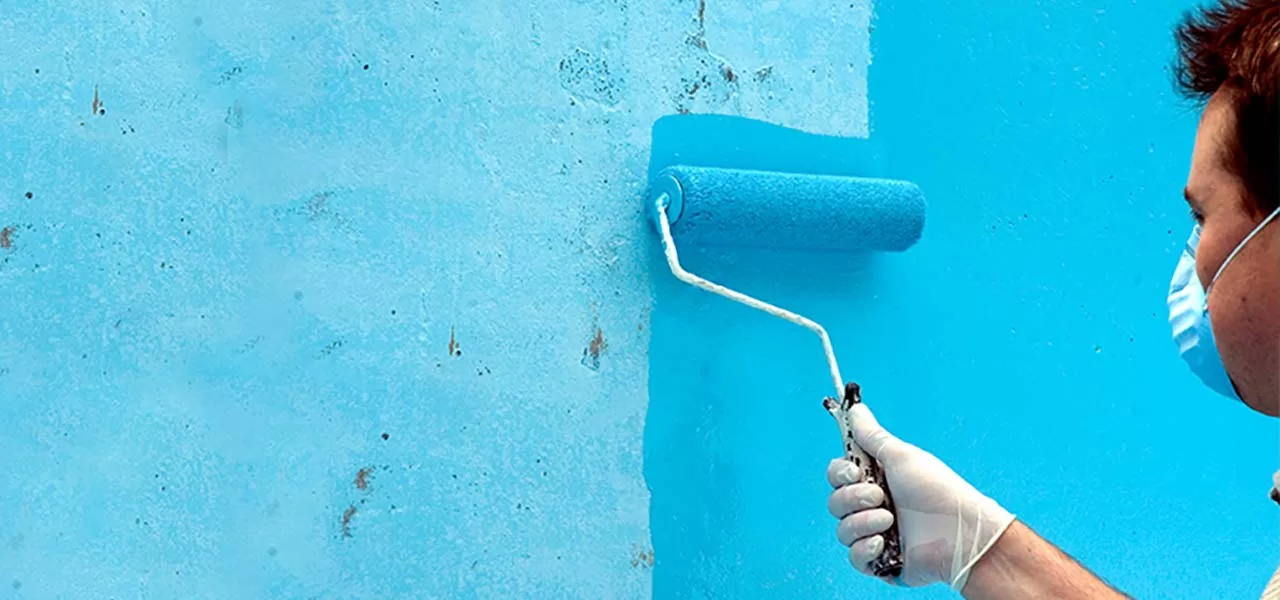
Remember to mix your paint thoroughly. Use a power drill with a mixing paddle to ensure that your pool paint is mixed properly. Epoxy paints have an additive that begins a reaction when you mix it into the paint, and each batch should be used within a few hours. When painting you want to start at the deep end and work your way to the shallow end. Use a telescoping pole to reach all the way up the walls.
Use a low nap roller, 3/8 inch nap or less, for smooth surfaces. A 5-gallon bucket with a grid works better than a low, flat paint pan. Buy a wooden extension pole that you can screw into the roller frame so that you can roll the paint more easily. Overlap just slightly and use an even pressure for the best finish. Use a small cut-in brush to handle the 90 degree corners around steps and swim outs.
Before, during and right after painting, blow off the pool deck with a leaf blower or a garden hose, to keep wind-blown debris from blowing in on your about-to-be-painted, or your just-freshly painted, pool surfaces. Also, keep your dog away.
Need more than one coat of paint?
For pool paints that require multiple coats, follow the appropriate directions and never rush a second coat of paint if the first coat is not ready. It can take 2-8 hours for a coat of paint to dry, depending on temperature, wind and humidity. Work fast but steadily, and monitor the amount of paint that you are using, so that you don't end up running short on paint, or having much left over.
Don’t forget to have fun! While painting is a serious task, if you ever wanted to add any stencils or patterns on the pool walls or bottom, this is the perfect time! There are many neat ideas that people have come up with for making their pools look more fun – anywhere from stencils, to scatter/splatter painting, to logos, to full-on pool murals. It’s your pool, paint it how you like it!
Step 4: After Painting the Pool
You have finished painting the pool. Looks good, doesn't it? You can now remove any painter's tape. Before thinking about doing anything crazy, like filling the pool with water right away – make sure you have given the paint sufficient time to dry. Usually this is 3-5 days, but make sure to double check the directions on the specific paint type you’ve used. If you get any rain or moisture during the drying time, remove the water as fast as possible and allow for extra dry time if the rain lasts for more than an hour or two.
When the pool paint is completely dry:
- Fill the pool with water without stopping until full
- Balance the pH, alkalinity, and hardness levels
- Start up the filter system and add chlorine tablets
- Add chlorine stabilizer and stain away
- Resume your normal chemical maintenance
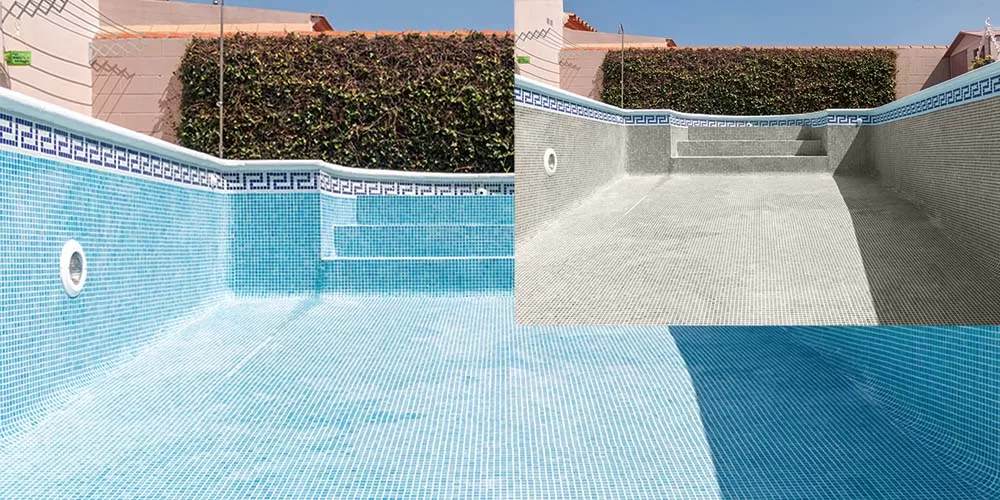
Now the only thing to do is to enjoy the fruits of your labor!
Painted pools have a ceramic-like finish that resists stains and algae. Be sure to maintain proper water chemistry to help it stay that way longer!