10% Off Sitewide Sale + Free Shipping No Minimum*
Should You Repair or Replace Your Pool Safety Cover?
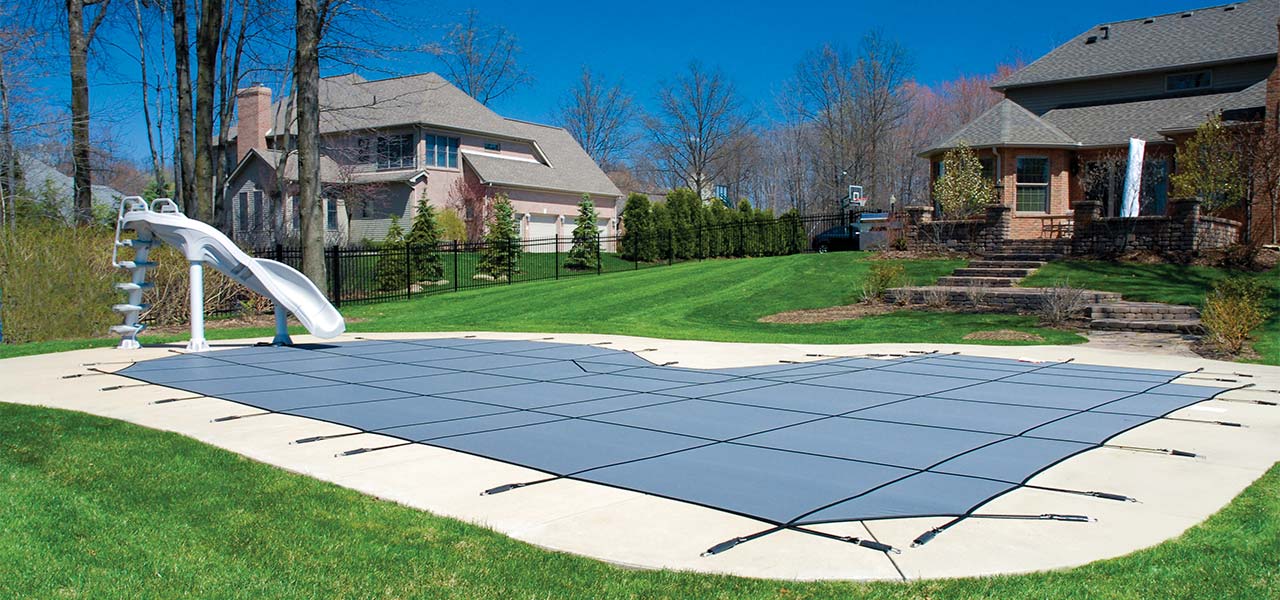
A pool safety cover is a worthwhile investment, offering protection for swimmers that can last 15 years or more. However, with time, many safety covers suffer damage, such as torn straps, frayed stitching, and chafing along the pool ledge. Some of this wear and tear is repairable. But in other cases, it may be beyond a simple fix — meaning it’s time for a replacement!
If you notice that the quality of your safety pool cover has changed, now is the time to decide whether you should repair or replace it. Curious about which category your cover fits into? Let's take a closer look.
Assessing the Damage
If you’re worried about your safety cover, assessing the overall quality is the best place to start! With older covers, damaged straps, small holes, thin areas, and malfunctioning springs or deck anchors are typical to find. However, minor issues won’t significantly affect cover performance.
Beyond standard long-term damage, make sure that the cover is still functional. Does it block out sunlight and debris? Does it do its job of preventing children and pets from accessing your pool? Is it still durable? If you can answer yes to these questions, your pool cover may simply just need a repair. Here are a few ways to fix your safety cover.
DIY Safety Cover Repair
For minor damages 6” long or smaller — about the length of a dollar bill — DIY repairs are usually effective. You can fix small holes and tears with safety cover patches, typically 4” x 8” in size. If you're handy with an awl, you can stitch repairs on wear strips, straps, and the scrim around the edge. For larger swatches of material or panel replacement, we suggest contacting the manufacturer. Although a repair can be challenging without a large sewing machine, it’s not impossible. Additionally, you can replace broken hardware like springs and anchors yourself.
Professional Safety Cover Repair
For more significant repairs, we recommend contacting your pool cover manufacturer or a specialized textile company in your area. In most cases, here’s how the professional repair process for a pool safety cover works:
- Submit a Return Authorization (RA) Form: Once submitted, you’ll receive a box (at no charge) to return your cover for repair or template replacement.
- Shipping: The company will provide a prepaid shipping label and an RA label, along with an RA tag to attach to your cover.
- Repair Timeline: Professional services offer quick turnaround times, available year-round without inconvenient deadlines. However, the speed of service may slow during periods of higher demand, such as during pool closing season.
If you need professional help to repair your pool safety cover, begin the process sooner rather than later to ensure that your cover is repaired and returned in time for pool closing.
Replacing a Pool Safety Cover
Now that we’ve covered all the repair options for your safety cover, you may find that yours is beyond a simple fix. If you find yourself in that position, the next step is replacement. Here’s what to do.
Measuring for a New Safety Cover
If you don’t know the size or brand of your original cover, you’ll need to measure for a new safety pool cover. If you have a pool that can fit under a stock cover — which is an in-stock size, on the shelf, and ready to ship — replacing your cover will be easier to do as it is immediately available. Most inground vinyl liner pools and standard plaster rectangles use stock covers. Most standard rectangle pools, with or without an end-step section, can be easily measured and ordered online. Just measure the length and width of your pool, then measure the end-step section, if applicable.
For custom-shaped pools with freeform curves or attached spas, custom covers are necessary. For these unique shapes, you’ll need to measure the pool using an A-B measurement form for a custom safety cover. Additionally, you’ll also need to plot a point to each existing anchor in the deck, and measure from points A and B to each anchor location around the pool. This ensures the new cover aligns with your existing anchors, although you may need to drill some new anchors.
Reinstalling a Repaired or Replaced Safety Cover
Now that you have your new or repaired pool safety cover, it’s time to reinstall! Unsure of how the process goes? Don’t worry, we'll be your guide! Let’s go into detail about the installation process.
Strap Adjustment
Even with an exact copy of the original design, adjusting the straps and springs can take time. Initially, attach all the springs to the anchors loosely. Then, go around the cover several times, tightening the straps until you have an even overlap around the pool edge. Safety cover springs should be compressed about ⅓–½ of the way, with the cover drum-tight and without visible deflection in the center.
Deck Anchors
If new anchors are needed, you’ll need a hammer drill with a ¾” masonry bit to drill new holes in the deck. To replace an anchor without drilling new holes, use a small hammer and chisel to chip away concrete around the top of the anchor. Once loose, grab it with strong pliers and pull it out. Brass anchors are typically held in place around the top 1/8" of the anchor body. There are other methods that don’t require chipping at the concrete to release the casing, but it all depends on the type of anchor you’re using and how damaged it is.
Time to Act
Don't delay! Now is the time to determine if your safety pool cover needs repair, replacement, or if you can squeeze another year out of it. Making sure your pool safety cover is in top condition is crucial for maintaining a safe and clean pool environment year-round. Plus, if your cover needs major repairs or you need to order a new cover, you don’t want to wait until fall to take care of it. Otherwise, you may risk delays in your annual winterization process.
A safety cover is necessary for both the safety of swimmers and the health of your pool water. To learn more about pool safety and how to care for your pool equipment, use our blog as your go-to resource!