10% Off Sitewide Sale + Free Shipping No Minimum*
Setting Up an Intex Pool for Summer
Planning on putting an Intex pool in your backyard? No matter if you have an Easy Set pool with an inflatable top portion or one of their metal frame pools (Prism, Ultra, etc.), the installation process on an Intex pool setup is pretty straightforward. Once you have the site prepared, in most cases the pool can be set up, filled, and functioning in just a day or two.
That said, there's a right way and a wrong way to set up your Intex pool. Learn from our experience, and take a look at these Intex pool setup tips so you don't make any mistakes with your new pool.
Choosing the Right Location for Your Intex Pool Setup
When picking out the location for your pool, consider factors like sunlight, visibility, location of power and water, and safety fencing or barriers to entry. Though these all seem like minor details, they can play a big role in the usability and overall safety of your pool.
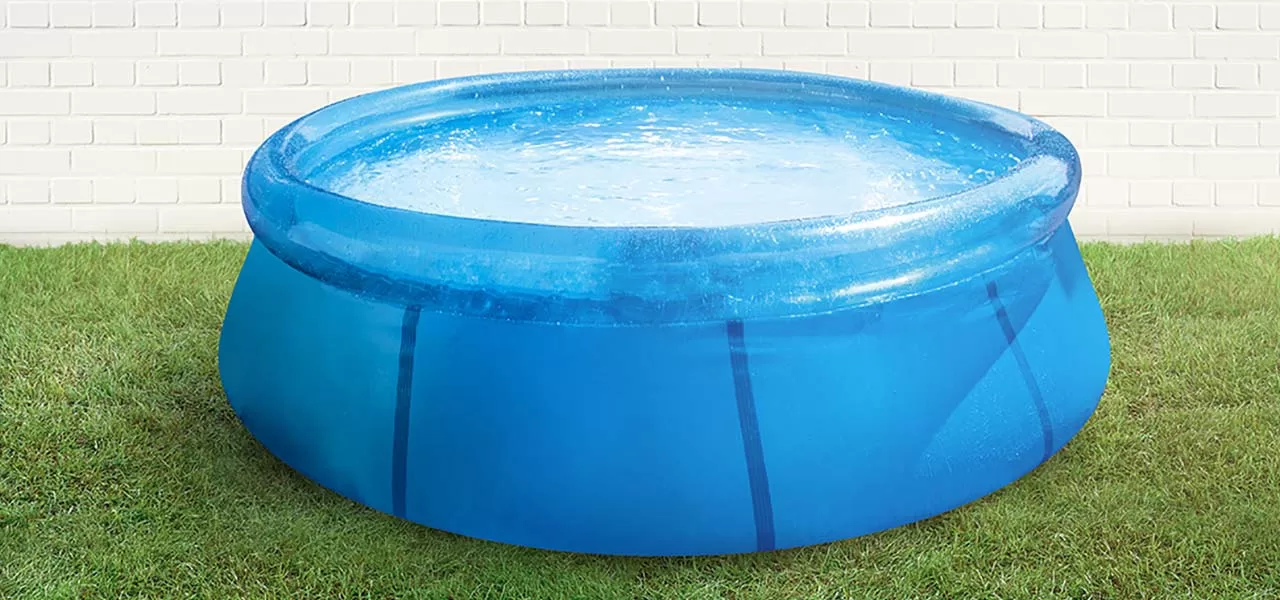
The Right Way: Pick a sunny patch of grass in the backyard. The location is on flat, level ground that has good storm water run-off. Safety fencing or barriers prevent unwanted access to the pool. The pool is easily visible from the house and elsewhere in the yard, and it's close to power and water sources.
The Wrong Way: Position the pool under a large, shady tree. The ground is not level or is on a slight incline, and water collects around the pool during heavy rain storms. Your pool is too far from the water spigot or power outlets, meaning you have to use a long hose or extension cord to reach the area. There's no barrier around the pool, and children can access it easily without supervision. The pool is tucked into a secluded area away from view, and it isn't easily visible from the house.
Site Preparation
Level ground is extremely important. If it's off by even 1-2 inches, a soft-sided pool can roll toward one side. This puts unnecessary stress on the pool and can lead to a blow-out. Above everything else, this is the most important step in setting up an Intex pool! A good location is high and dry, but also flat and level.
The Right Way: Mark the perimeter of your pool, and add 1 foot of extra space to all sides. Use a line level to measure at 12-36 points around the pool. Then use flat shovels or a sod cutter machine to remove turf and lower the high spots. Add a one inch layer of sand.
The Wrong Way: Eyeball the approximate area of the pool, and raise visible low spots by adding sand without actually checking for true level. Using sand to fill in low spots is not advised because it results in uneven weight distribution on the pool floor. This can lead to uneven floors and a blowout if erosion occurs.
How to Level the Ground for an Intex Pool
Now you know the right and wrong way to prepare the ground for your new Intex pool setup. But do you know how the steps involved for getting the ground level? Keep reading for our expert tips!
There are very few yards that are perfectly flat and level and require no ground work. Depending on your equipment and available help, it can take anywhere from a couple hours to a full day. If you have substantial grading to do, look into renting a skid steer loader or sod cutter.
1. Start by painting the outline of the pool on the ground.
If you have a round pool, you can mark the pool outline by putting a stake in the center of the pool area and tying a string to it. Measure the string to the exact radius of the pool and add 1 foot to the measurement. Hold the string at the measured point and in the same hand hold a can of spray paint. Walk in a large circle, holding the string taut, and spraying the paint close to the ground. Fair warning: wear old shoes while doing this.
If your pool is an oval or rectangle, add 2 feet to your length and width measurements before marking out the area. Make sure your corners are a perfect 90º angle so your shape isn't lopsided.
2. Check your ground level.
First, cut the grass very short and rake it well, so you're not measuring over grass, sticks and rubble. Check for level ground by using an 8 foot long 2x4 board. Be sure to choose one that's not warped! Lay it flat on the ground, right up against the center stake (if you used one to mark out your circular pool.
Walk on the 2x4 to make sure it's flat on the ground. Place a carpenter's level on the two-by-four, to be sure the ground is not more than 1 inch out of level. Move the two-by-four around the stake to measure all around the pool circumference, and also measure at a few different places around the outer perimeter. If you're measuring a rectangular or oval pool, measure 12-36 points across the length, width, and diagonal axis.
3. Level the ground as needed.
If the ground is more than 1 inch off level, you'll need to remove the high spots. Don't just go around filling the low spots. Adding fill under an above ground pool can settle or wash out, making you wish you'd taken the harder route of knocking down those high spots! An inch of fill-in spots will probably be OK, and adding an inch of sand is often used for a smoother bottom. However, if you plan on adding several inches of fill dirt, you're just asking for trouble!
If you need to dig out more than a few inches, call 811 to have your underground lines marked. If you're digging out more than a foot, you may want to think about constructing a small timber or block retaining wall to direct water around the pool.
4. Prepare to Set Up Your New Intex Pool!
With the ground leveled and prepped for your new pool, you're just about ready to start setting everything up! An Intex pool in the box looks big when it first arrives on your doorstep. Don't try to move it as-is. Instead, get a razor knife and carefully open up the long side along the tape. Then you can pull out the five or six smaller boxes and accessory items and cart these out to the job site. Check to see if a ground cloth is included with your kit, and if not, purchase one to place between the ground and pool.
Intex Pool Setup
It's the moment you've been waiting for – it's time to install the pool!
The Right Way: Carefully read all instructions, and watch the instructional video (if available). Grab a helper to spread the ground cloth over the prepared ground, and stake in the corners to keep it tight. Roll out the pool material and spread it out, being careful not to snag it on stakes or sticks.
For Easy Set pools, inflate the top ring and begin filling the pool. For Metal Frame and Ultra Frame pools, follow instructions to assemble the frame pieces until the pool is fully erected, then begin to fill the pool.
Take your time to gently remove wrinkles from your Intex pool. The packing wrinkles will mostly smooth out on their own, but a few may need some assistance. When you get about 4-6 inches of water, gently get in the pool in your swimsuit and slowly work out any wrinkles with your hands, working from the center to the walls (inside to outside). Grab a helper or two if you have a large pool. Once the pool is half full, wrinkles are almost impossible to remove, so be ready to start working right away once you turn on the water. Heavy adults can use 2x4 boards to stand or kneel on in order to distribute weight more evenly and protect a sand base.
The Wrong Way: After quickly skimming through the instructions, you try to do everything by yourself. You didn't start with a level base, and you didn't use a ground cover. Now sharp rocks and sticks threaten to puncture the floor of the pool. The piles of sand you used to fill in low spots have shifted around, and the bottom of the pool looks like the surface of the moon. You didn't work out the wrinkles right away, and now you're stuck with them. How did things go so wrong?! Guess you'd better start back up at the top again.
Final Steps
Follow the instruction manual to connect the pump and filter to your Intex pool. Test the water to ensure proper pH, Total Alkalinity, and Calcium Hardness, then shock the pool to remove any organic contaminants from the water. Once chlorine levels drop down into the recommended 2.0-4.0 ppm range, you can finally enjoy the fruits of your labor! Go grab your swimsuit and start soaking up the sunshine.
As you can see, there's a right way and a wrong way to set up your Intex pool for the summer. If you take the time to do it right, especially with your prep work on the ground, you'll be swimming in no time!