10% Off Sitewide Sale + Free Shipping No Minimum*
Pool Cover Removal, Cleaning, and Storage
Taking care of your pool cover is just as important as taking care of the pool itself! A damaged or dirty pool cover can cause a heap of problems for you and your pool. When it's time to open your pool up in the spring, pool cover removal, cleaning, and storage should be at the top of your opening care list. So let's go over the best practices for tending to your pool cover during pool opening season.
Before You Begin...
Here's how to remove both pool cover types, safety pool covers and winter pool covers. But first, a few tips:
- Get some helpers. Removing a pool cover by yourself is no picnic. Just two people are needed in most cases.
- Clean it before folding. Leaves, dirt and debris are bad for the fabric and will only end up in the pool when you close it in the fall.
- Accordion fold the cover, also known as fan-folding. This makes it much easier to put it on the pool next time.
- Patch any holes you have now, before putting it away and forgetting about it.
With these tips in mind, here's how to remove, clean and fold a winter pool cover in the most efficient way possible. These methods will work for aboveground pools or in-ground pools.
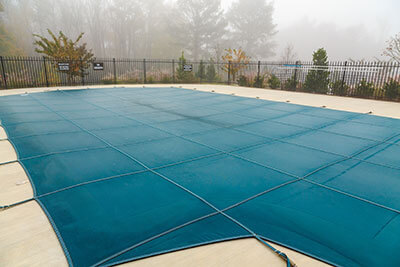
Safety Pool Cover Removal
- Hose, skim, or blow off the pool cover thoroughly.
- Hose, broom or blow off the surrounding pool deck.
- Loosen all springs with your spring removal tool.
- Flip the springs inward on top of the cover after removal.
- Tighten down cover anchors with 1/4-inch hex key.
- Pull one end of cover over the pool deck 4-6 feet.
- With a helper on the other side of the pool, put your foot on the cover seam that runs between you. With your opposite hand, grab the cover where the next seam meets the strap/spring. Pull this seam to meet the pool cover edge.
- Continue fan-folding the pool cover, seam to seam, accordion style.
- Use a leaf blower or a hose while folding, if needed, to clean debris.
- When the cover is folded into one long section, fold this in half, then half again. Roll up the last portion tightly. Stuff it into the cover bag and allow to drain before storing for the summer.
Ten steps seems like a lot, but you know that it only takes 10–15 minutes to remove, clean, and fold a safety pool cover. You paid a little more for your efficient, time-saving purchase, and now it's payback time.
Winter Pool Cover Removal
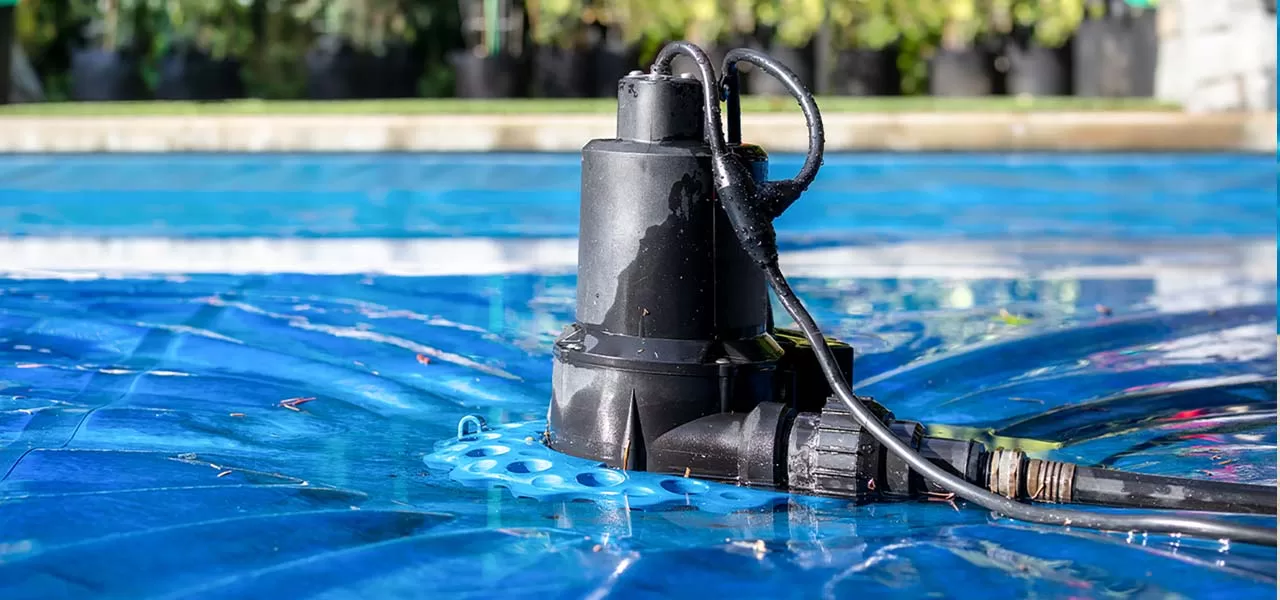
The winter pool cover removal process is nearly as easy as removing a safety cover. Since all the water from the melting snow or rain accumulates on top of a winter cover, the first step is to remove this water. Any kind of cover pump will become your useful tool for the next several hours. Run a hose out to a sewer or the farthest part of the yard.
Now, if you are fortunate enough to own a winter leaf catcher, you can pull 99 percent of the leaves and debris off the cover with one easy motion. Leaf catchers are inexpensive, wide-mesh nets that you place on top of your winter pool cover. They are easy to remove from the pool; you can haul the whole mess somewhere appropriate to dump it out.
If you don't have a leaf catcher on the winter pool cover, grab that long pole and start skimming. We need to remove 99 percent of the leafs, sticks, bugs and other debris by hand. It's much easier to use a leaf rake type of skimmer net to remove the leaves and debris while there is still some water on the cover. Having a helper with a plastic bristled pool brush on a pool pole can help push the debris into an area where you can scoop it up with a leaf net.
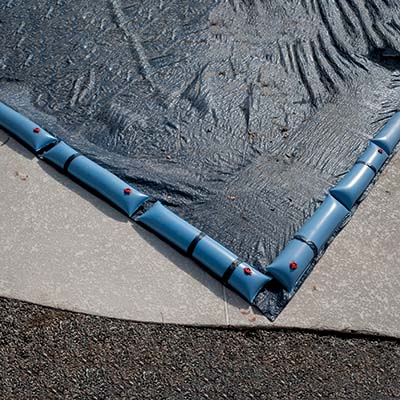
After all the debris is off, plug the cover pump back in and remove any remaining water. Now, it’s time to remove whatever was holding your cover in place. If it's water tubes, flip open the lids and drain them. Hose them clean, fold them or roll them up, and put them in a box, safely located for next time. If you use the time-saving Aqua Blocks, just pop the tops, empty the water, and stack them up.
Above Ground Pool Winter Cover Removal
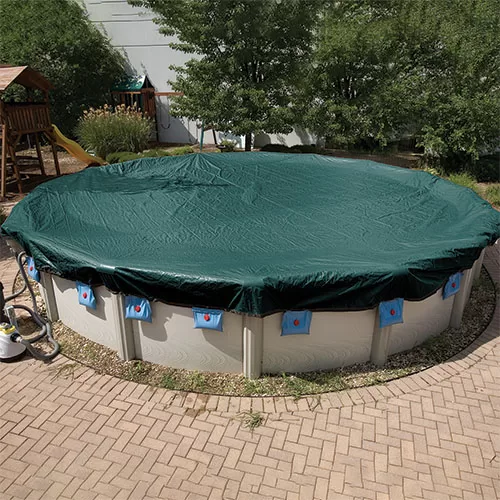
After all the water is removed from the above ground pool winter cover, loosen the cable/wench assembly and remove the water bags that secure the pool cover around the pool. Be careful not to allow the pool cover to fall in the pool as you remove the bags. Have at least one helper on hand, and two would be helpful.
Finally, it’s time to pull the pool cover off the pool. If it’s windy, pull the cover off lengthwise in the direction the wind is blowing. With a helper on the opposite side of the pool, pull the cover rapidly from one end to the other, keeping it waist high and not letting the edges dip into the water.
If there is still a few gallons of water on the cover, concentrate it into one area and continue pumping. When it's down to a few gallons, both you and your helper can grab up the cover and pull it completely off and away from the pool.
Remove the cover to a clean area, so that you can spray down the cover. Sloping driveways work best, but a clean, grassy hillside will work, too. After rinsing and brushing with a pool brush or push broom, allow the cover to dry before folding. Be careful not to leave the cover over top of grass for too long; it may brown the grass temporarily.
Folding a Pool Cover
I've mentioned the term accordion fold or referred to fan-folding several times in this post already. This way of folding your pool cover will make it super easy to reinstall, so it's worth learning and using the method to fold your pool cover. It's done the same way of folding a sheet of paper to make a paper fan, shown left.
Things to Avoid
1. Pump off all of the water on a winter cover before trying to remove it.
2. Don't store the cover in an area frequented by nesting rodents.
3. Be careful cleaning and pulling on old covers, which may tear easily.
4. Put down safety cover anchors first to avoiding snagging and tripping.