10% Off Sitewide Sale + Free Shipping No Minimum*
Painting a Fiberglass Pool
Has your fiberglass pool lost its original luster? Is it stained and dirty? Or does it have spider cracks in the gel coat? Painting a fiberglass pool can be a great DIY pool restoration project. Epoxy paint bonds well to fiberglass and wears well, becoming thin over time. It will need to be redone again in 5-7 years, but is a cost effective alternative to applying a new gel coat to a fiberglass pool.
1. Order Pool Paint and Painting Supplies
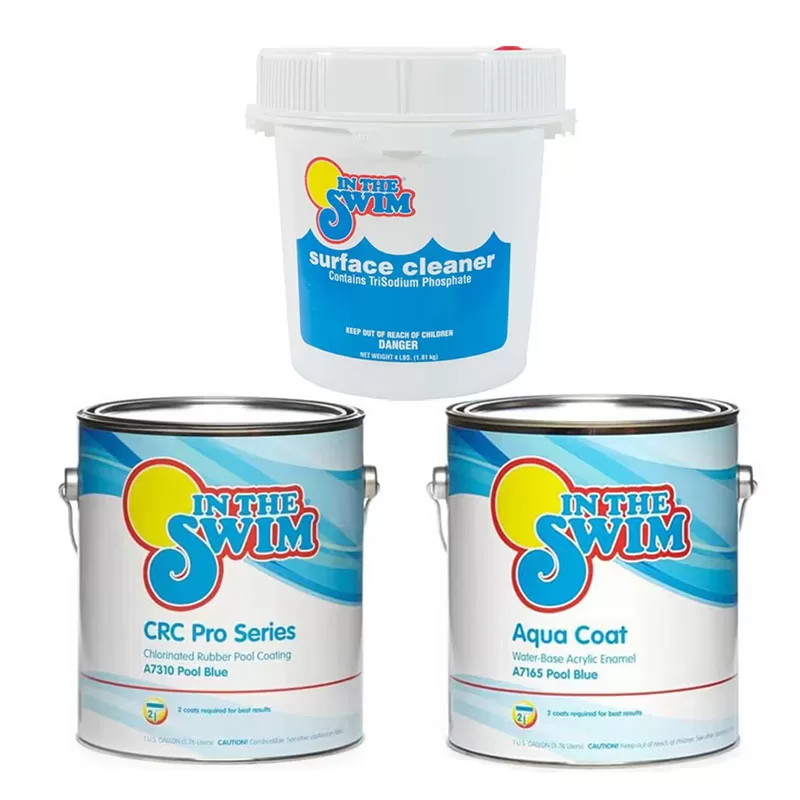
Epoxy pool paint is the only suitable material to paint a fiberglass pool. Buy enough to paint two coats for a long lasting finish. Measure your pool carefully to add up all the surface area of the floor, walls and steps, then buy more than enough Epoxy pool paint to cover the surface twice.
Additional pool painting supplies include:
- Paint rollers (3/8in low nap), roller frames, extension poles
- Paint brushes for cutting in corners
- Masking tape
- 5 gal bucket with paint screen
- Scrub brushes on poles
- Sanding brushes on poles
- 2 gallon flower watering can
- Dishwasher detergent
- TSP Cleanser (Tri Sodium Phosphate)
2. Drain the Pool
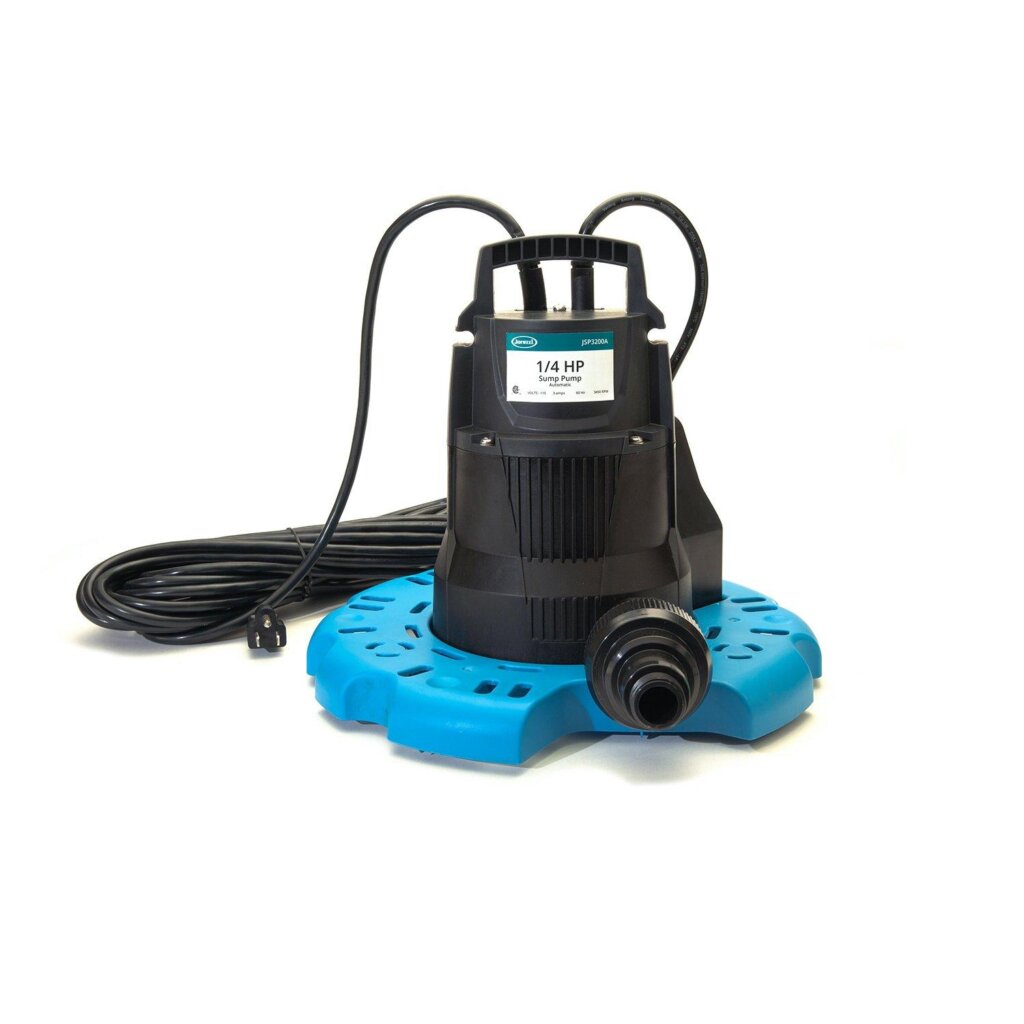
Some pool pumps will drain the pool completely through the main drain, but it's more common that they will lose prime before pumping the last few hundred gallons out of the pool. If you have a small submersible pump of some size, it should be able to pump out the remaining water, running the hose up and out the shallow end of the pool. For very deep pools, you may need to rent or buy a small (1/3hp) submersible pump (sump pump) to remove the rest of the water, or to dewater the pool quickly in the event of a heavy rainstorm after draining.
Speaking of weather, a pool painting project needs to be completed quickly, within a week if possible. Oily, dusty pollutants deposit on the surface, affecting the bond before painting - and rain after painting can affect the cure time. Be sure to have all supplies ready to go before beginning, with a dry and calm weather forecast in the week ahead.
Draining a fiberglass pool can be of particular concern during rainy periods when the water table is high, and fiberglass pools that are not solidly supported can be at risk for shifting when the water is drained from the pool. It's never happened to me or anyone I know, but just to let you know, it is a possibility.
Once all of the water is drained from the pool, use a large sponge and buckets (or a small pump) to remove any standing water in the drain, skimmer, behind lights, steps, etc.
3. Clean the Pool
It is imperative to remove scale, dirt and oils from the pool surface. Paint will not adhere to dirty, scaly or oily surfaces, and will peel off, chip off or pop off in a very short time. Start with 1/4 cup of a low suds dishwasher detergent, dissolved into the flower watering can with 2 gallons of warm water. Pour the soapy solution along the walls, while a helper uses the scrub brush on a pole (or by hand), to scrub every inch of the walls, from top to bottom. Stop scrubbing every 10 feet or so, and rinse down the scrubbed sections. After the walls and steps are scrubbed vigorously and rinsed, move to the floor. Rinse the floor and pump out the pool.
Next, repeat the process with TSP, a powerful degreaser available at any home store. Mix again with warm water and scrub the walls, steps and floor thoroughly, rinsing quickly to keep it from drying on the surface. Rinse the entire pool again, and pump out all waste water in the deep end.
4. Sand the Fiberglass Surfaces
Sanding the pool is an important step to roughen up the surface and improve paint adhesion. With plaster pools, an acid wash is done to accomplish the same thing, but on fiberglass pools, buy 2 sanding pads mounted on wooden poles, with #80 grit sandpaper. You don't need to rub the gel coat right off the pool, just one or two passes with light pressure is sufficient. Sand in the same direction all the time, parallel sanding grooves hold paint better than cross-hatch or sanding in all directions. Certain areas with transition curves, around steps or lights for example, should be sanded by hand (without the pole) for more control. When the sanding is completed, hose the pool down once more and pump out the water again, getting every last drop.
5. Let the Pool Dry
Some plaster pools can take up to a week to dry, but in dry, low humidity weather, a fiberglass pool can be dry and ready to paint in just 2 days, in most cases. To be sure it's dry before painting, use masking tape to secure several large pieces of clear plastic to the pool walls and floor. After a few hours in the sun, inspect the squares to see if any moisture is on the inside of the plastic. Pay close attention to any areas of fiberglass where the gelcoat is worn thin or has spider web cracks, or very small surface crazing. If there has been any rain or heavy morning dew during the drying period, pump it out or mop it up asap. When you are certain that the pool is dry, check the weather again to have at least 4 days of dry weather ahead.
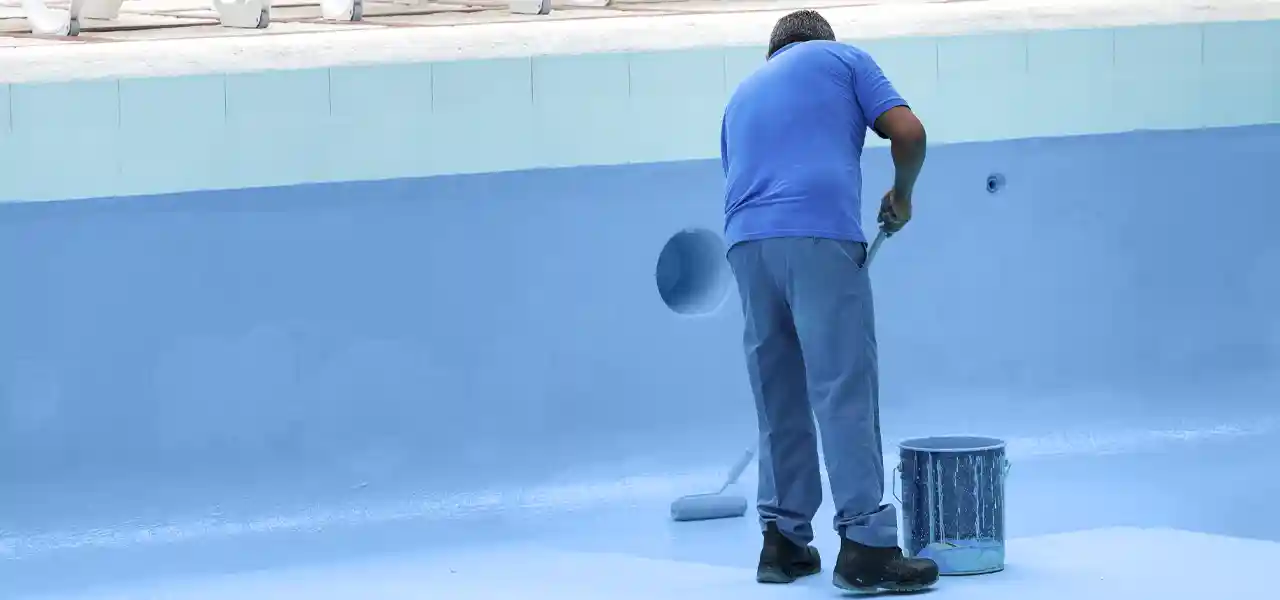
6. Paint the Pool
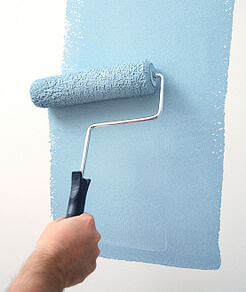
Just before painting the pool, do a dry wipe of the pool walls, steps and floor, with clean towels duct taped to your sanding poles. This step is recommended to sop up any saps, oils, dust and pollutants that have blown into the pool during drying. Mix up a few gallons of the epoxy paint (each gallon comes in 2 cans) completely, while your helper tapes off the pool coping, or any non-removable features that will remain unpainted. Pour the mixed paint into your 5 gallon painting bucket with paint screen (much better than flat paint trays). After the sun burns off any morning dew, start in the deep end with two painters, both covering one half of the pool.
Use long overlapping strokes of even pressure to obtain complete coverage. Two people can paint an average pool in 1-2 hours. Let the first coat fully dry (4-8 hours), and then add another coat quickly, best if you can do it on the same day. Follow label instructions for drying time recommendations between coats, and before filling the pool. Note that on the second coat, you may use about 20% less paint than on the first coat.
7. Fill the Pool
Follow instructions on your paint container for recommended drying times for painted fiberglass pools. Depending on the weather (temperature, humidity, rain, fog), more or less drying time will be needed, generally 4-7 days before you can fill the pool. When you do fill the pool, place the hose in the deep end, not in the shallow end, so that water won't run in a small river down the pool floor. Balance the water immediately after starting the filter, with additional care that alkalinity is above 100 ppm and pH remains above 7.4 at all times, to protect your new paint job.