FREE Standard Shipping On All Orders $100 or More!*

Installing the Pool Light in Your Inground Pool Kit
As we continue our series of articles on how to build your own inground pool, today we look at an illuminating subject, adding underwater pool lighting. For this post, we’ve taken some of the most common questions we hear from DIY pool builders on pool light installation, and present them to you, in FAQ format.
Q: When Can the Pool Light be Installed?

A: The pool light niche, or wall bucket that holds the pool lamp, is ready to be installed once the pool has been dug and the pool walls have been erected. There is a special wall panel that has a hole cut-out, be sure to place this panel in the deep center wall of the pool, or wherever the light(s) will be located. Follow the wall panel markings, and avoid installing the pool light wall panel upside-down!
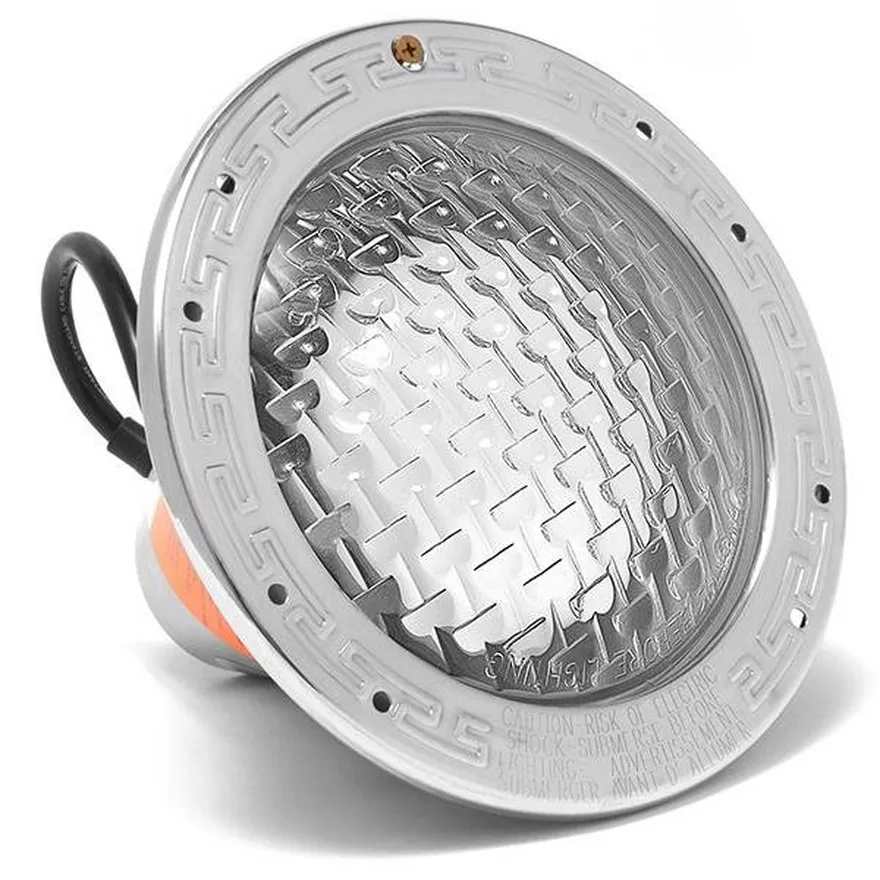
The light, or lamp that fits inside of the niche is installed during the filling of the pool. When the pool water level reaches the light, the ring and gasket can be installed. Then the vinyl inside the light ring is cut out, and the lamp can be installed into the light niche, with the light cord running out the back of the niche, to the power junction box.
Q: What Can I Do, and What Does an Electrician Have to Do?
The homeowner can install the pool niche into the cutout for the light. Follow the Hayward pool light niche installation instructions. When mounting the light niche, push it through the wall from the inside out and then once in place you tighten the lock ring on the back of the niche to seal it against the wall.
You will also provide the trenching from the pool excavation to the equipment pad, which is usually dug during excavation. You will also wire the pool light from the light niche to the junction box (see below). Your qualified and licensed electrician will take care of everything else.

The electrician has to ground the pool light, to protect against any stray voltage. Inside the pool niche there is a grounding connector that must have a bare copper wire connected to it, normally this a continuous ground around the entire pool. An electrical potting compound is put over the grounding connection, the termination encapsulated in a wet niche potting compound. This will help protect the connection from the possible deterioration from water.
Bonding of the light (different from grounding). In some parts of the country this must be done to be compliant to the local electrical code. Bonding codes vary from town to town, but you generally need to bond the pool walls, ladder sockets, light, and pool pump. Your electrician should be familiar with what’s required, if not, ask your inspector.
Q: How Deep Should the Conduit be Buried?
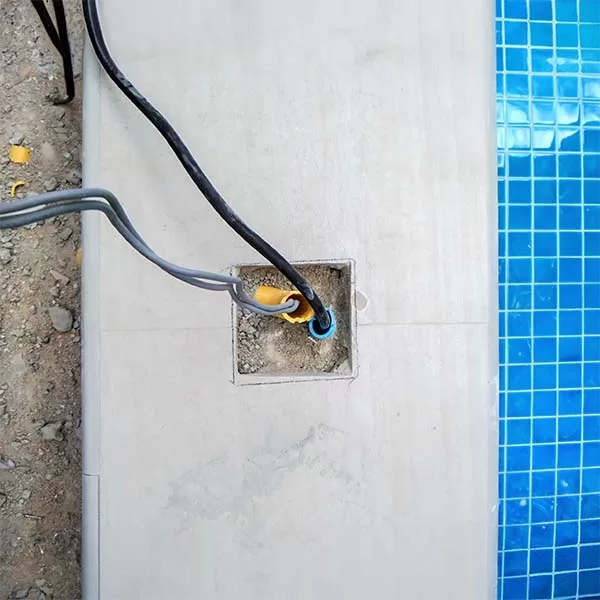
Next, your electrician has to run the electrical conduit (pipe for the wires) from the pool light, to a junction box, and then to the pool breaker panel. Conduit for the pool light cord is also run from the junction box to the pool light niche. Inside the conduit, he will run wire from a GFCI breaker in the equipment pad sub panel (breaker box) through a light switch for you to power the light on and off, to a junction box located about 18″ above the water level, and about 10 feet away from the pool light. The junction box is where the pool light and power wires join (junction).
A: Make sure the electrical conduit is down far enough so that if you ever need to dig in that area of the yard you won’t hit them. I would recommend having the conduit about 2-3 feet down inside the trench.
Q: How is the Light Installed?
The conduit that runs from the pool light niche to the junction box should also be very deep, to avoid freeze damage in northern climates. The conduit is usually not sealed, and could freeze, crack and then start to leak water. You can use a Cord Stopper to seal it up before water gets into the conduit. This wraps around the cord and seals up against the conduit connection when pushed in place. See website for entire selection, there are several sizes of these light cord plugs.
A: If your pool has the liner installed and is half full of water, your electrician can wire the light for you, but in most cases of pool construction, that may require another trip back to the job site. It’s easy enough for most DIY pool builders to handle; here’s how it’s done.
With the pool at least half full of water, water level up to the bottom of the light, float the light in the shallow end, and walk the other end of the cord to the deep end. Tie and tape the end of the light cord to a fish tape, or to a wire that you have pushed from the junction box into the light niche. Then pull the fish tape back out of the junction box, so that it pulls the cord of the light with it, through the conduit and into the junction box.
Q: Lamp, Niche, Conduit and J-Box?
A: Make sure that you leave some extra cord wrapped around the lamp inside the pool niche. Leave 3-4 feet of cord in the light niche, so that you can pull the light up to the deck if you need to change the bulb. Once you have the cord pulled through the conduit, except for the 3-4 feet left in the niche, you can cut the cord at the junction box. Cut off about 6″ of the pool light wire casing and then strip off the ends of the wires. Using wire nuts, the pool light wires are joined to the wires from the GFCI breaker, and the ground wire is attached to the green screw.
Test the light for only 1 second – without water to cool the light, the lens and bulb can overheat and burst within minutes! After a quick test, the Junction box lid can be tightened.
Q: How Does the Light Seal to the Pool Liner?
A: Good question, and not only How, but When. do not get in a hurry to screw on the light ring over the liner. You must wait until the pool is half full of water, or up to the bottom of the light. This will let the pool liner stretch fully into place.

Before you install the liner, use some adhesive to attach the first gasket to the pool niche (under the liner) and make sure the holes in the gasket line up with the holes on the niche. With the pool liner in place, and the water level up to the light, lean far over the edge of the pool, and install the second gasket and the light ring with the 10 screws that are provided.
Once the light ring is secure, and the screws are very tight, take a razor blade and trim the liner inside the face rim. it is very important that you never screw through or cut any area of the liner until the water level reaches the area that you are going to cut out.
Now, finally you can install the light fixture or lamp, into the light niche, coiling the light cord around the lamp. There is one screw that will hold the lamp in place. After the water fills over the lamp, it is time for you to turn on the light switch and see that nice bright light in your swimming pool, obviously if it is day time when you are installing your pool wait until the evening so that you can see the nice lighting in your swimming pool.
Q: Can I Add More than One Light? Or use LED Color Pool Lights?
A: You can do either. Larger pools can use lights at each end, or two lights on the sides. When you order your inground pool kit, let us know, and we can include a second pre-cut wall panel, and add in another niche and light to your pool package.
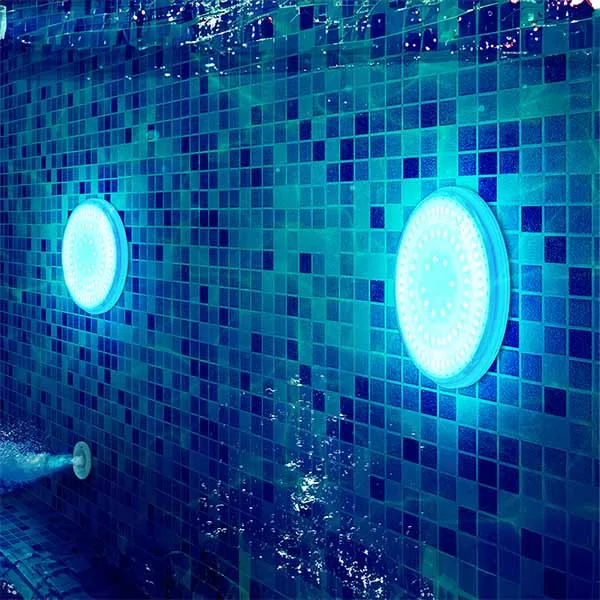
The process for LED pool lighting is the exact same in regards to installation of the niche and light. The only difference is in the additional cost of $450.00 to upgrade to the Hayward Color Logic LED color changing light. This light has 5 fixed colors and 7 color changing light shows.
Q: What Could Go Wrong?
A: Usually nothing, but I can come up with a list of possible pool light mishaps. Here’s some things Not to do…
- Not 120 volts – some states or towns (very few) require 12V pool light systems.
- Not checking with Inspector on bonding / grounding requirements.
- Not using a qualified and licensed electrician for the job.
- Not sealing to the light niche tightly when installing the liner.
- Turning on incandescent pool lights without water in the pool, to cool the light.
If you have other questions about installing the underwater light in your pool – we can handle anything you got! In The Swim inground pool kit customers get unlimited support every step of the way, and we have perfected the art of pool problem avoidance, with our wealth of information and expertise.