FREE Standard Shipping On All Orders $100 or More!*
How to Install a Replacement Gas Pool Heater
Replacing your old gas pool heater is not such a complicated task. Indeed, most pool owners hire a professional to replace their pool heater. While many states require licensed contractors to install gas appliances, you can save time by starting the process yourself. In this article, we'll walk you through how to buy, place, and plumb your new pool heater.
Preparing for Heater Installation
Once you have purchased the correct size and type of pool heater — propane or natural gas — the first step in replacing your gas pool heater is to remove your current heater and clear the location where the new pool heater will be installed. Be sure your pool pump is turned off at the circuit breaker, and that you shut off the gas supply to the heater, at the tank (propane) or at the gas meter (natural gas).
For electronic gas pool heaters, those with a digital display, ensure your heater is powered down by removing the power source. Consult and follow the owner's manual of your existing pool heater, and disconnect the incoming power wires at the connection points inside the heater. If your replacement gas heater is the same as your old one, take note of how your old one is wired as you are disconnecting the wires.
Plumbing
Disconnect the gas plumbing from inside of the heater, with the use of two large channel locks or two pipe wrenches. Be certain that the gas supply is turned off before this is done. On natural gas heaters, look for a union connection inside the heater to disconnect. Propane lines are typically a flexible copper tubing. Be careful not to crimp or bend the tubing during removal.
Disconnect the water plumbing, where the pipes come in and out of the heater. If your heater has union connections, use large channel locks (or strong hands) to loosen the unions. Older heaters without union connections may be plumbed with threaded CPVC fitting, or may utilize heat sinks - metal tubes with unions on the bottom. For PVC pipes, use a saw to cut the two in/out pipes. Leave room to reconnect with a coupling or union, if you plan to re-use the pipes on the new heater. For steel or copper heat sinks, remove the bolts on the header flanges, to disconnect the water plumbing from the heater.
Look for a small, bare copper bonding wire attached to the base of the pool heater; also connected to the pump motor. Disconnect the bonding lug completely from the heater using a nut driver (do not cut the wire), and bend the wire and bonding lug out of the way.
If your heater has a vent stack on top (and any heater installed indoors or inside of a shed should have proper venting), carefully remove the sheet metal pieces from the top, and inspect the pieces to be sure that there are no cracks or corrosion. Also check the vent and vent cap for bird nests and thick spider webs or any blockage to air flow.
Heater Location
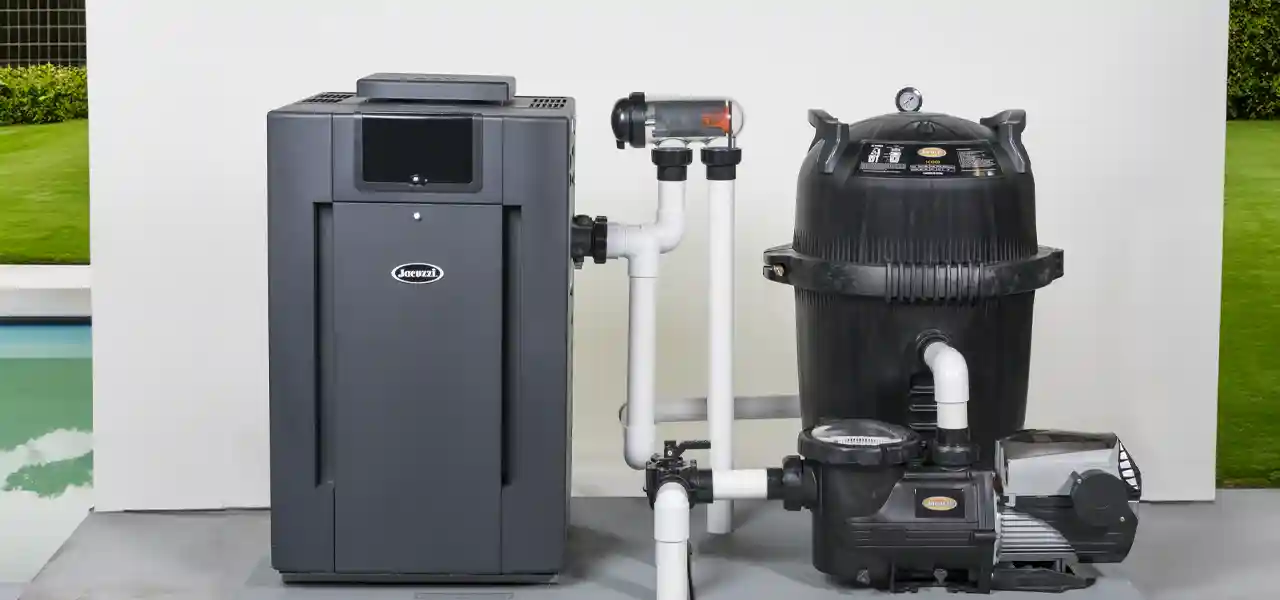
Once the area is cleared, place your new gas heater onto the location where it will sit. Position the heater in a way that makes simple and straight water and gas connections. Also consider the location of the control panel. Most gas heaters allow you to flip the heat exchanger from one side to the other, and some allow you to 'flip the lid', to position the control panel on the most easily accessible side.
Following the new heater's installation guide, make sure that there is sufficient room (in front, behind, to the sides and above the heater) for proper combustion and ventilation of your new gas pool heater.
Pool heaters must sit on a non-combustible base and have at least clearance around all sides and clear sky above. This is VERY important! Pool heaters should also not be installed beneath or near any windows into the house, as they produce carbon monoxide and this exhaust can be fatal.
Pool heaters which are poorly maintained or installed incorrectly can also be a fire hazard; as 'flame roll-out' can ignite nearby combustible materials. Consult your owner's manual for these very important installation considerations.
Ensure that shrubbery or trees have not overgrown too close to where the heater is going to be positioned. Trimming or removal of nearby plants and trees may be needed to reduce moisture and increase air flow. Your new pool heater should sit several inches above the earth, free and clear of mulch or leaf pile up and out of any danger of flooding.
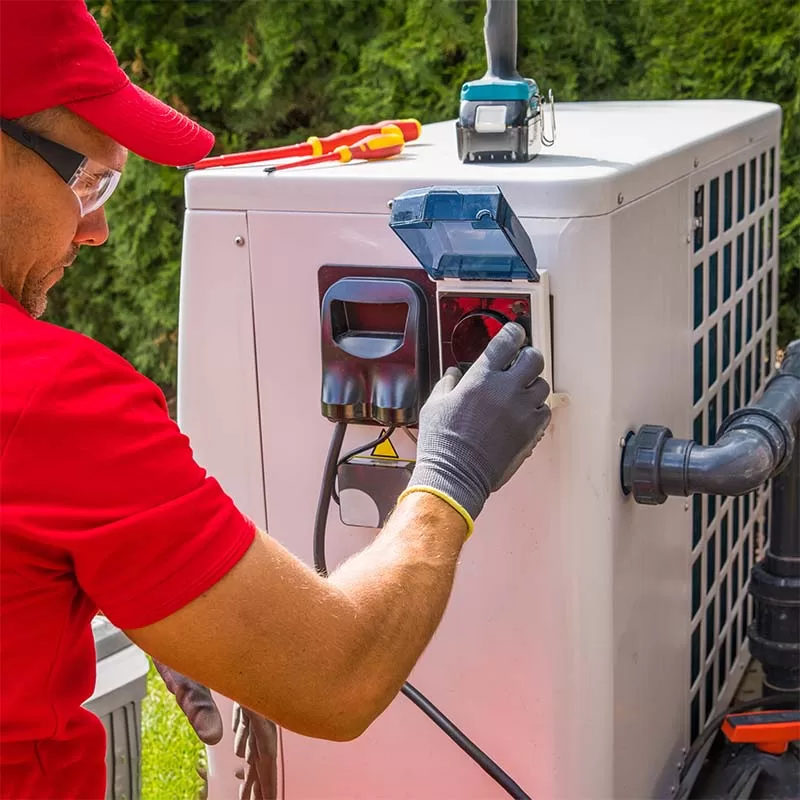
Heater Electrical
Wiring for digital gas heaters is a simple task - follow the specifications and directions that came with your pool heater. Even if your replacement pool heater is identical to your old one, the wiring may look slightly different, just follow labels and the manual.
Double check that all wires have been connected properly, the directions are usually very simple and clear. Take care to check that you’ve correctly connected your power lines as instructed. Be sure to securely fasten the conduit to the heater cabinet with a suitable conduit connector.
Connect remote wiring, if your pool has a remote pool controller system, again following the directions that have come with your replacement pool heater. The wires from the remote controller should never be combined with the high voltage wire in the same conduit, and for this reason, pool heaters have two conduit installation holes (knock-outs) located next to each other on the side panel.
Heater Plumbing
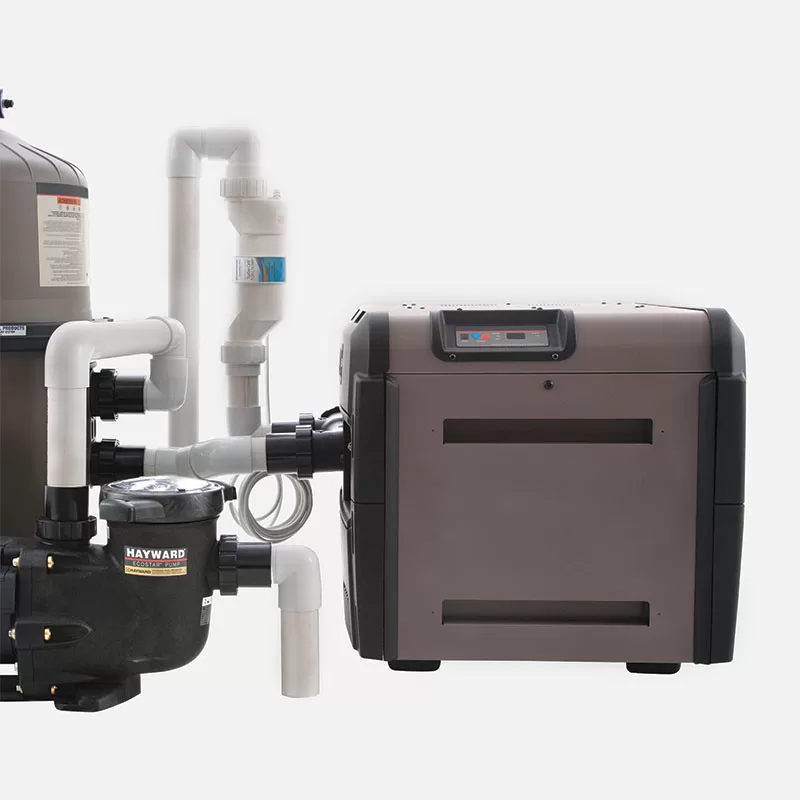
Once the electrical has been installed, it is time to connect the plumbing for your pool system. Attach the PVC plumbing connection union nuts that come with your replacement pool heater. The gaskets that come with these connections should be lubricated with a silicone-based lubricant to ensure a sealed fit.
Take care to install the pipes into their respective inlet and outlet ports on the heater. I once was called out to troubleshoot a pool heater, and after much head scratching, discovered that the heater was plumbed backwards! The front header or manifold should be clearly labeled with a sticker or an arrow pointing either towards (inlet) or away (outlet) from the pool heater.
A pressure relief valve is usually required by local codes, to bleed off any excess pressure - similar to a household hot water heater. Once you have made sure that all pipes and joints are correctly cut to the right size, join pipes and fittings with fresh PVC cement. For threaded fittings into the heater, use sufficient thread sealant to prevent leaks.
Heater Gas Line
The next step is to install the gas line, which is understandably the part of your new pool heater install that requires the most care. For propane heaters, your propane supplier will make a quick and secure connection for a nominal fee.
Consult your owner's manual that came with your heater before making any gas line connection. If you are replacing the heater with the exact same model, the connection should be the same as before.
Once you’ve made sure that the incoming gas line is clean and corrosion-free, secure it to your heater using gas thread sealant (pipe dope). Use only sealants and fittings that are rated for gas supply.
After securely connecting the gas line to the gas valve, according to the pool heater owner's manual, turn on the gas and test the entire gas line and fittings with some soapy water to check for leaks.
Before working with gas, check your local and state codes to see if a homeowner is prevented from working on gas. If so, consult a qualified gas contractor in this case - making mistakes in this area could be dangerous!
The next step in installing replacement gas pool heaters is to start up the filter pump and to check for water leaks. Once that is done, you are all set and ready to test fire your new pool heater. It may take a few minutes for the gas flow to reach the burners, but if it does not fire within a few minutes, double check the gas supply and water flow.
Indoor Pool Heaters
If the pool heater is to be installed indoors or in an outdoor shed or partial enclosure, be sure to properly vent the pool heater to the outdoors. Although this is completely explained in the owner's manual, this can be tricky for the layman to do properly.
Consult a qualified HVAC company to properly vent a pool heater being installed indoors. Indoor heaters should also have a qualified gas contractor connect the gas supply line, and a permit should be pulled, as mistakes in indoor pool heater installation can be deadly!
Consult your owner's manual to make sure that you’ve gone through all the steps to correctly and safely install a replacement gas pool heater. We carry all the top brands, including Hayward, Lochinvar, Pentair and Raypak pool heaters.
Follow your heater installation manual, and all local codes and regulations to set up your own pool heater - and you should have results as good as any professional pool heater installer, if not better! You can always consult a licensed contractor to inspect your work before firing a pool heater.