FREE Standard Shipping On All Orders $100 or More!*

How to Build a Pool: Equipment Pad Setup and Design
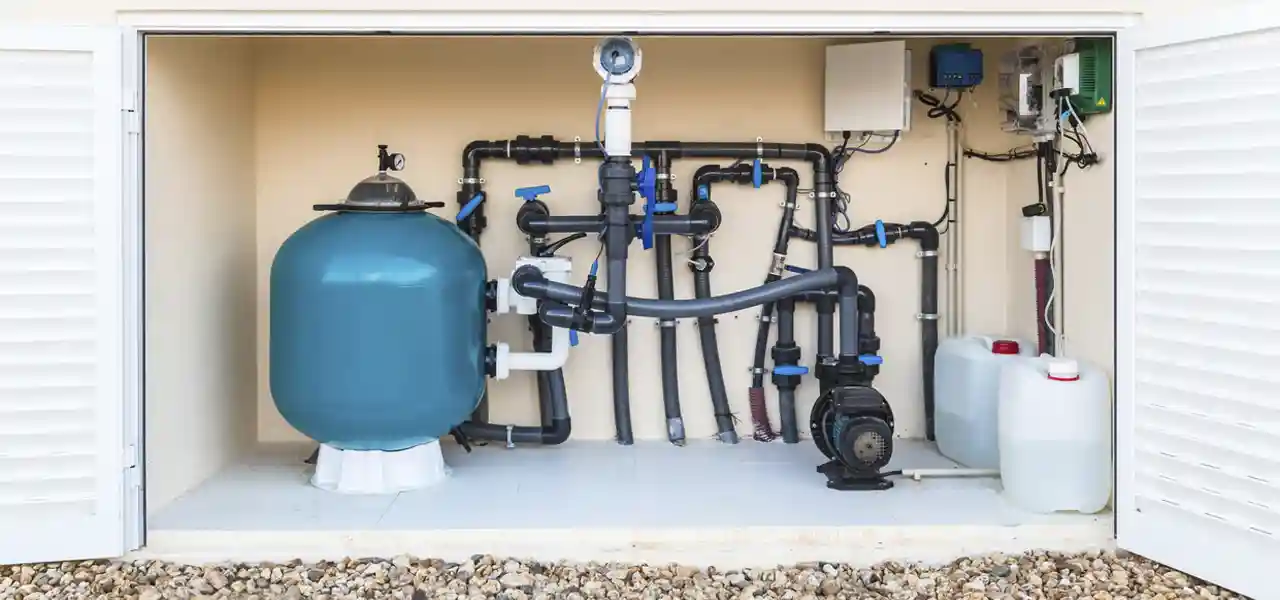
Planning the layout of your pool equipment on your pool equipment pad is a fun stage in your pool project. The goal is to design a functional and simple layout with room to maneuver and service the equipment with as few turns in the pipe as possible.
Sketch the Pool Pad Layout
To visualize it fully, you should draw it out on paper with pencil, so you can erase and change it as you go. Spend time drawing each pipe and noting every 90 degree or 45 degree turn in the pipe, every valve and each piece of pool equipment: pump, filter, heater, cleaner pump, chlorinator, salt system, ionizer or mineral purifier.
Got enough room?

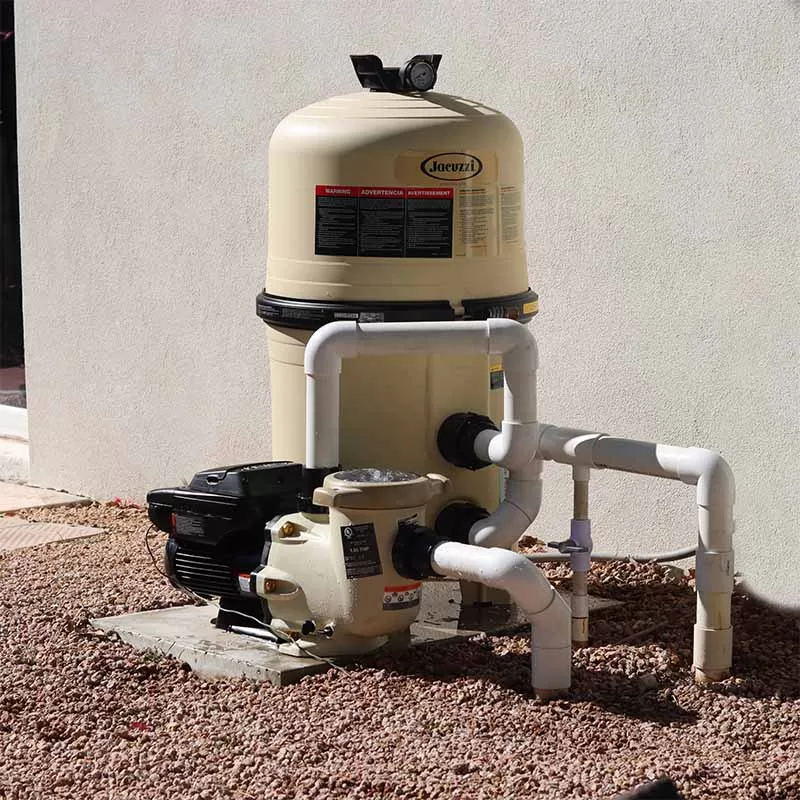
Pool pumps and heaters need room to breathe, and you'll need room in between and all around each piece of equipment for service or repair to pumps, filters and heaters. Pipe location should not block easy access to the pump and filter. You need room around the equipment to stand and maneuver, but you also need vertical service access to remove pump baskets and filters, for instance. You may need access to the rear of the pump motors at some point, so leave at least 1 foot behind the pumps. It's best if you can completely walk, stand, and kneel all around the equipment.
The usual layout is to have the valves in front of you as you approach the equipment pad. Access to the electrical box should be on the left or right side, not behind the equipment, so you do not have to reach over it. Best access to the pump basket, filter valve and clamp band, heater controls, and chlorinator should be planned for in your pool pad design.
Height of Pool Pad
A pump and filter that is located below water level, such as used on above ground pools, is known as a flooded suction type of pool system. Most inground pools have the system located above the level of the pool water, just a foot or so. And although it's important to have the equipment pad elevated from the surrounding ground, for storm runoff, a system located too high above the pool water level may pump priming problems. Plan your pad to be around 1 foot or less above the pool water level, and you'll have no problems.
Location of Pool Pad
The best location is a compromise between the distance from the main house electrical box and gas meter, if you are planning on a gas heater. It should be close to the level of the pool water and easily accessible. If you put it too far away, it will be inconvenient to check on regularly. On the other hand, you probably do not want it right up against the house, under your bedroom window, either. It should be somewhere accessible, but not in the way. A sunny spot is better than a shady, wet and overgrown location. Good drainage is important. Close to power and gas sources will reduce the cost to run these utilities to the pool pad.
Building the Pool Pad

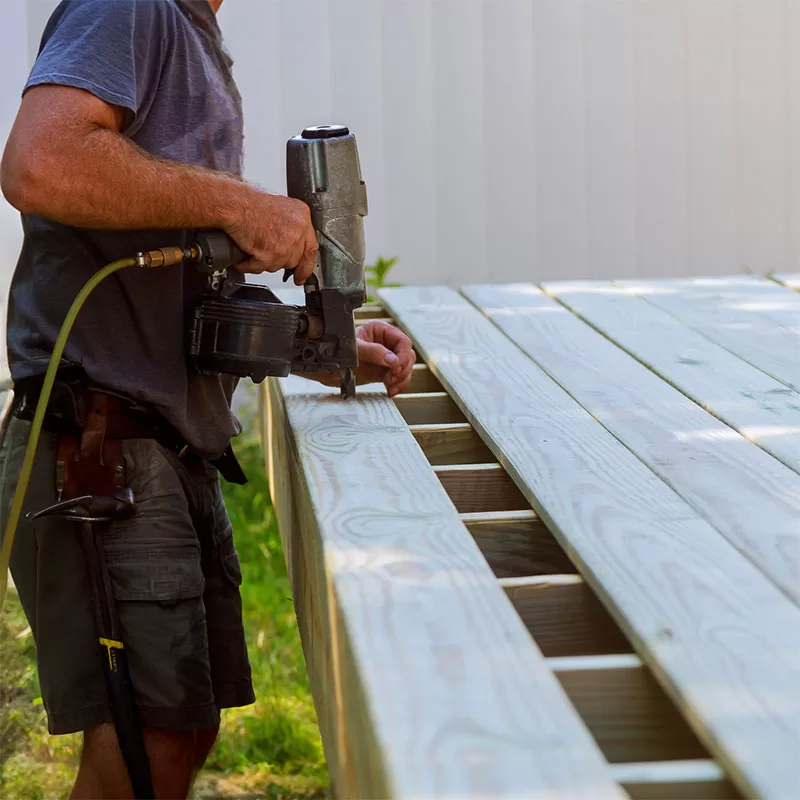
When you are certain of the location, work the turf to level the ground. Lay down 4 inches of gravel. On top of the gravel, construct the frame out of wood, two-by-fours. Place heavy stakes around the frame to nail the frame into the ground. Cut a piece of wire mesh to fit inside the frame and elevate it 1-2 inches. You can also use 3/8-inch rebar pieces in a criss-cross pattern, spaced 16 inches apart.
Mix up enough concrete or use leftover concrete from pouring the concrete collar, and pour it over your steel, keeping it elevated off the gravel. Pour it to a thickness of 4 inches. Use a two-by-four section to float and tamp the concrete, and when the entire box frame is full, use a flat trowel to smooth the surface. Then brush with a kitchen broom to create grooves that run in the same direction. Write your initials and the date and give it a few days to cure!
Should You Build an Enclosure?
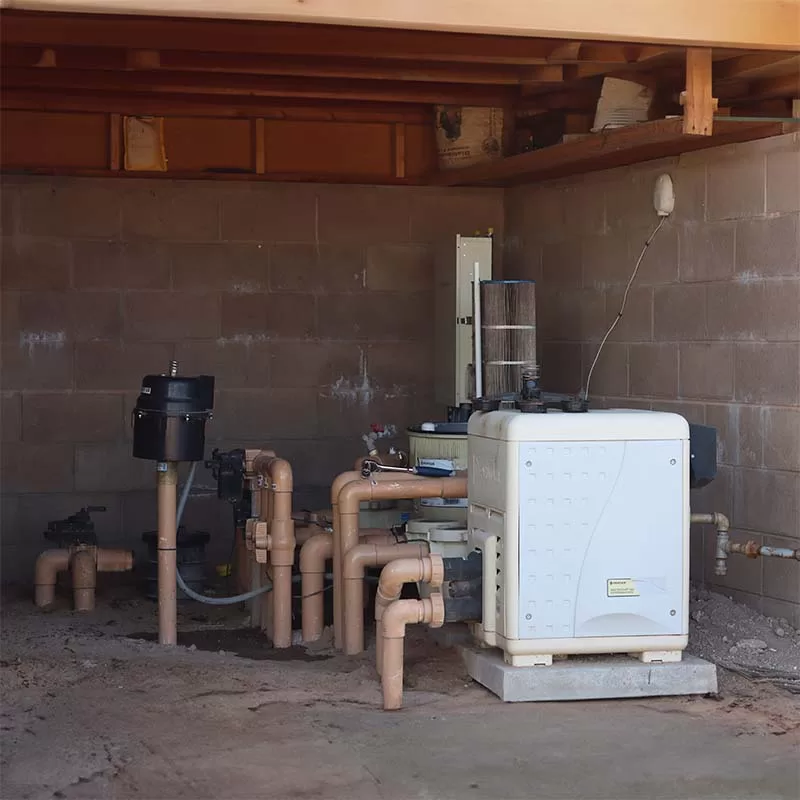
We wrote a blog post about that, and options for doing so, but it's not necessary to build a structure over or around your pool equipment. Still, many DIY pool builders place a small fence to hide the equipment and block some of the pool pump noise. A two- or three-sided fence, longer than the pad, and at a 4-foot height is a nice design feature, and it hides the equipment well. A small roof can be built to block rain and snow, but only if you do not have a gas heater.
Setting up the Pool Pad

Unbox your equipment and set the pieces on the equipment pad in the order you planned. Line up the plumbing pipes to come out of the ground right in front of the concrete pad. You want the suction pipes (skimmer and main drain) to come up right in front of the pump, and you want the return line(s) to come up in a parallel location, a few feet to the left or right.
Connect the equipment, using the least amount of 90s and 45s and trying to keep pipes straight and level. Avoid loops or low spots in the pipe where water may sit, especially in snowbelt regions. Leave lots of pipe room on either side of each piece of equipment, at least a foot of clear pipe.
Be sure to plumb it in the right order! Pump -> filter -> heater -> chlorinator, salt or mineral system. After you have designed and installed the perfect pool equipment pad, you can label the pipes if the system seems complicated to others.