FREE Standard Shipping On All Orders $100 or More!*
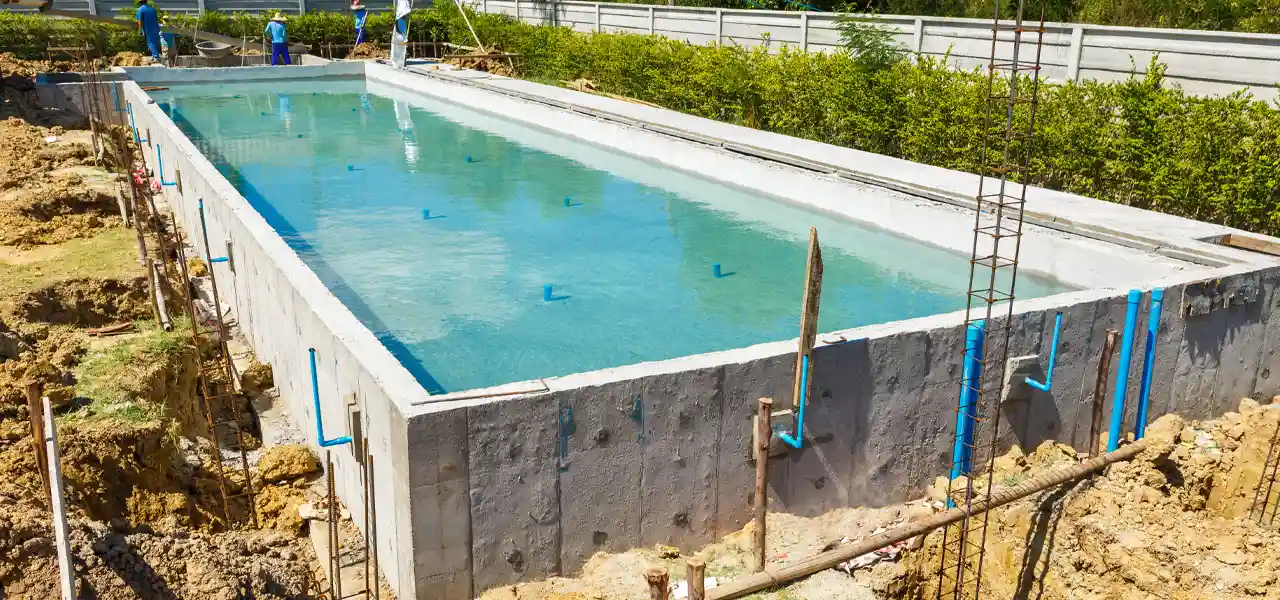
Gunite Pool Construction Phases
There are several phases of inground gunite pool construction, and each phase is built upon the previous phase's accomplishments. In most cases, each of these phases will be performed by a different crew or group of guys. You can plan on having a lot of visits by different trade contractors, starting with graders and excavators.
Then comes the steel and plumbing guys, followed by electricians. A gunite crew will come in to "shoot" the pool before the tile and coping crew does their work. Finally, a plaster crew will come in to finish things up inside the pool. Pool decking is another crew, as is the fellows that connect all of your pool pumping, filtering and heating equipment together.
Having these phases performed by separate sub-contractors is not necessarily a bad thing, and a good project manager will coordinate with all, to avoid delays, and inspect their sub's work for quality, and correctness to plan. A builder that handles more of these phases "in house", with less reliance on sub-contractors, may provide a faster build, with fewer problems, but not always. In any case, you'll have a lot of visits from a lot of trucks. It can get messy for a while, so keep a stiff upper lip. You'll replant the grass, replace that tree and fence section and eventually it won't look like a war zone.
Here's a look at each gunite pool construction phase.
Pool Design Phase:
Your pool designer will first consider such things as your lot size and topography, property line setbacks, easements and underground utilities. Your budget will be important, as well as what style and shape pool you had in mind. Unless you have it all figured out, your pool designer will pull out some photo books, or may drive you around to look at some local pools they have built.
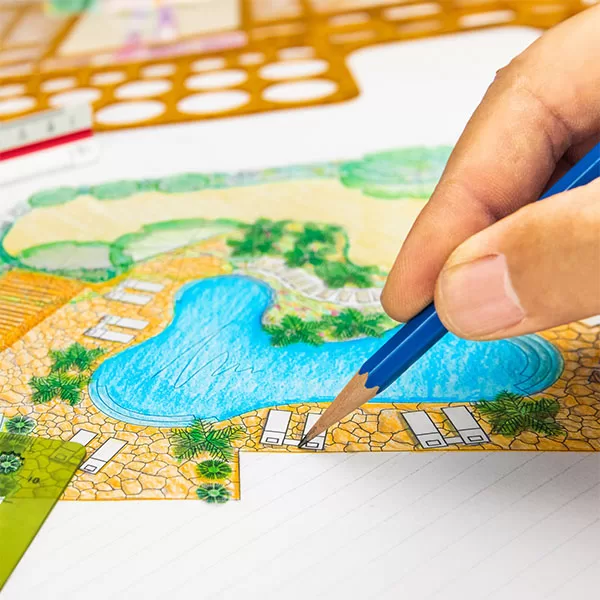
Once the shape, style and size is nailed down, you and your designer may discuss water features or rock displays or planter beds. Do you want a spa attached to the pool? There are options for tile and coping, plaster and advanced features such as infinity edges, beach front entrances or shallow water benches or tanning areas. For the pool deck you will also have many choices to make on size, materials, texture and accents. The possibilities for pool design can seem endless, so this can begin to get a bit tiresome.
Then the pool equipment choices, also endless. Slide and dive equipment, ladders and rails, automatic pool cleaners. Many builders will have a pump, filter and heater manufacturer that they are aligned with, often either Hayward, Pentair or Jandy. You will also likely be offered salt chlorine generators, mineral sanitizer units, or ozonators. Want to control the equipment from remote locations? Controllers will manage lights, pumps, heater from inside the house, or even from your smartphone. Want an eco-friendly pool? Heat pumps or solar pool heaters have zero emissions, cartridge filters save water, LED pool lighting, and two-speed or variable speed pumps drastically reduce your energy consumption.
After all of these items are agreed to, the designer can begin drawing up the plans. After meeting with you again to confirm the choices, your designer submits the pans to obtain the necessary city or county permits. If you belong to a Homeowner's Association, they might have to sign off on this too.
Pool Excavation Phase:
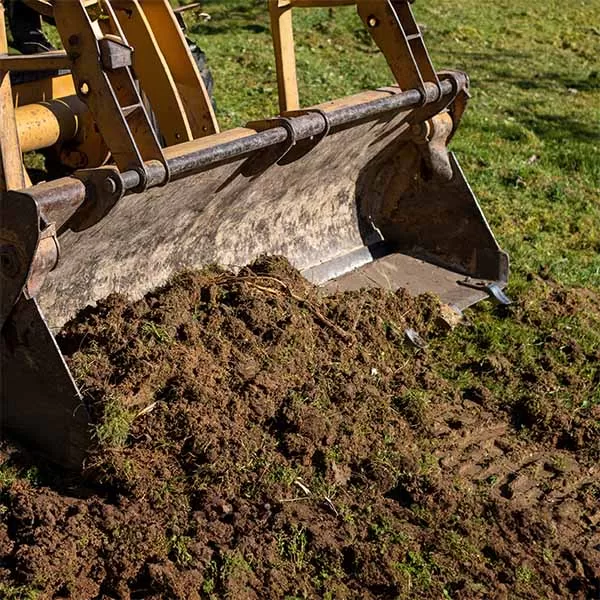
This is where the gunite pool construction really begins. The pool shape will be staked and painted in the yard. Fences and trees may have to be removed to allow access. Your grass will suffer where the traffic will be traversing from the street to the backyard.
Excavators or front end loaders are usually used to dig a pool, but some builders may use a skid-steer loader, especially on smaller pools. In just a few hours, they will have dug the rough shape of the pool. The dirt is usually transported off the property, but if you want to keep the dirt, to build up some area on your property, you can save some money this way - plus, it's your dirt!
Problems can occur if solid bedrock is hit or if underground springs or a high water table begin leaking into the excavated area. But this usually doesn't occur, and if there is a suspected chance of it, your builder should be able to warn you of it, and any expected extra cost if it does occur.
Steel and Plumbing Phase:
Now the actual gunite pool construction starts. The hole is reinforced with steel rebar. Depending on where you live, the amount might vary. But in all cases this steel rebar acts as the skeleton for the pool and provides the structural support for the shell of the pool. The steel is set so that it is about 2-4 inches from the dirt wall. They bend it into position to wrap around steps and curves, following the shape of the dig.
After the steel guys or done, or sometimes before or during - the plumbers will skimmers, returns, cleaner lines, and drains are set into place. Electricians may be on-site at this time, connecting the bonding wire to the shell of the pool, and hanging the pool light niches into the wall, in preparation for the Gunite crew coming next.
Gunite Phase:
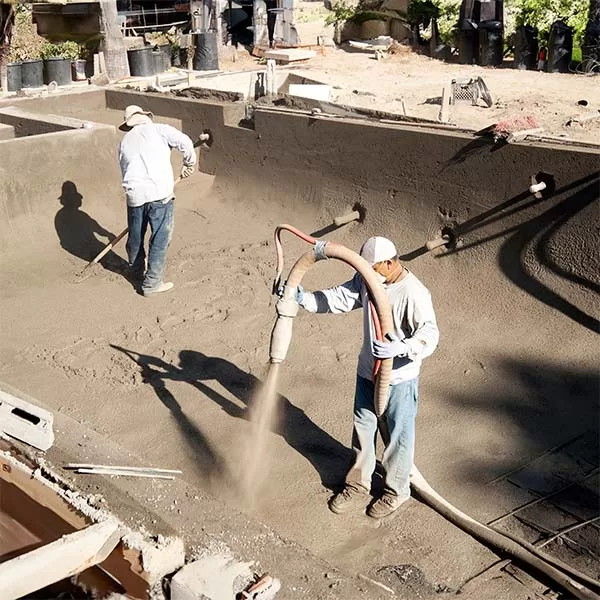
This is when your pool begins to look like a pool. Gunite is concrete that is shot out of a "gun", pushed out with high velocity air. The material is pumped out of a hopper type truck, and shot behind and on top of the steel reinforcement bar. Finishers with trowels then carve and sculpt it into the exact finished shape of your pool.
After the gunite has been applied, it will need to dry before plastering. It takes several weeks for gunite to cure. Large rains and debris should be removed from the pool during this phase. You may see small cracks in the rough surface, don't worry - these will be covered in plaster. Large cracks, or crumbling areas may be cause for concern, let your builder know if you see any of this.
Your backyard should be pretty torn up by now. You might still have piles of dirt, and stakes sticking up everywhere. Deep wheel ruts in your beautiful Zoysia grass lawn, and you lost that apple tree that you loved so much. Looks like a bomb went off! Hang in there, after a few more phases of gunite pool construction, you can tend to these disturbed areas.
Tile & Coping Phase:
As your gunite pool shell is curing is the best time to place perimeter tile and pool wall capstones (brick, precast concrete or milled flagstone). The perimeter pool tile allows you to maintain an easily cleanable surface at the water level. The pool coping stones provide a safety grip on the inside for easy grasping and assist in draining water away from the pool.
After the pool deck is added on, which could be done at this phase, you will want to caulk the expansion joint in between the pool deck and the rear of the coping stones. This expansion joint should be clear to the earth, check that the pool deck is not be touching the back of the pool wall in any areas. This allows the pool and deck to expand and contract separately. Caulking the joint keeps out freezing water and stops debris from clogging up the expansion joint.
Electrical Phase:
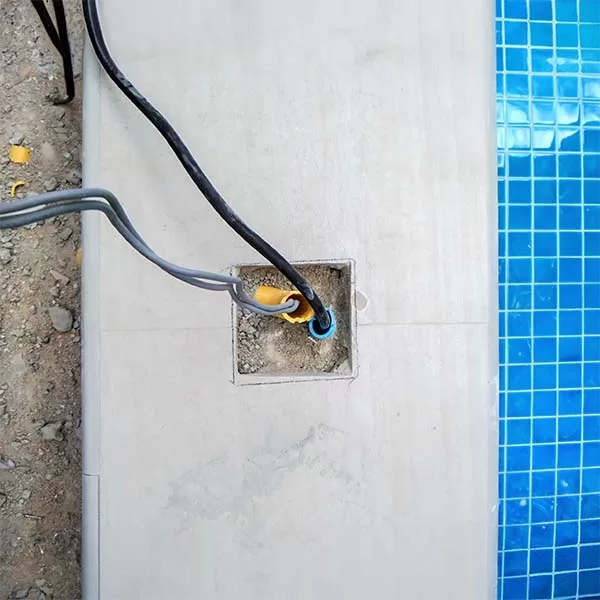
During the phase of gunite pool construction, the electrician installs an electrical breaker box, usually called a sub-panel, at the spot where the pool equipment (pump, filter, heater) will be set up. The sub-panel is usually a 100 amp box, and it will power the pump time clock, pool lights, additional outside lighting and electrical outlet. A booster pump for a pool cleaner or a salt chlorine system can also be powered from the sub-panel.
The electrician will also connect the pool lights to junction boxes installed outside of the pool deck. Then, an electrical conduit is run from the junction boxes, back to the subpanel.
Your electrician should have also connected a bonding wire, which is a bare copper wire that is attached to the pool shell steel rebar. This wire connects all steel components of the pool shell and the pool equipment. It usually starts on the pool shell, connects to the ladder or slide leg sockets in the pool deck, connects to the underwater light niche, and then runs back to the equipment pad to connect to the pump, filter and heater.
The plumbing crew should be have most of the plumbing installed, and you may see them pressure testing the plumbing before backfilling the trenches. After a series of pressure and line tests your pool builder will move on to installing your equipment on the equipment pad. Most pool equipment sits outdoors, but many people will build a small wall or plant bushes to help hide the equipment. You can build a small shed or roofed structure around the equipment if you wish, but if you have a gas heater, you'll need to carefully and properly vent the heater to the outside.
Plaster Phase:
The final phase is plastering your pool's surface. Pool plaster is your waterproof layer, protecting the pool shell and steel, and gives a smooth, luminescent layer that's easy to keep clean.
Watching a plaster crew in action is really something, they work fast, and a crew of 4-5 can have it done in 3-4 hours. They will leave the pool filling with water when they leave. It's best to fill as fast as you can without stopping, so add extra hoses to fill faster, if you can.
The plaster crew will leave you with important plaster start-up and care information. Follow these instructions carefully, coordinating with your pool builder so that it's clear who will be doing the plaster care during the first critical few weeks.
Pool Startup Phase:
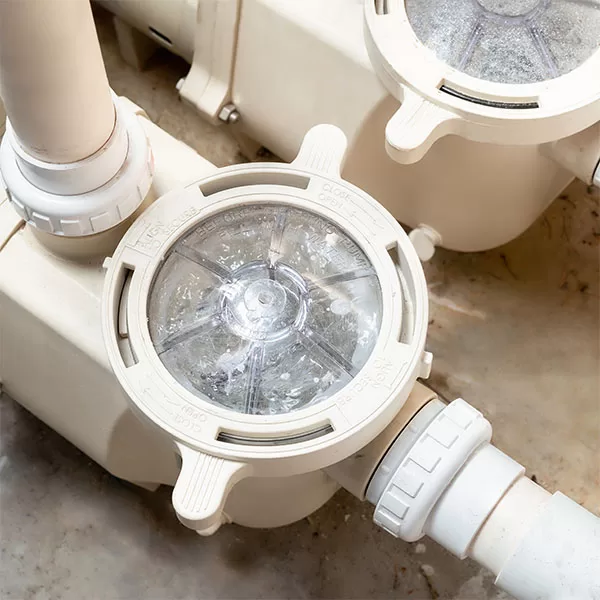
Last minute cleanups or equipment installation happens during this phase. Your pool should look nearly complete at this point. Initial start-up and operation of the equipment should be performed by your pool builder, along with initial chemical balancing of the pool water.
After that, your builder should schedule an orientation with you, to help you understand your pool and equipment. Film it with a video camera so you can watch it a few times. Your pool chemistry may fluctuate and require daily checks and balances for a while, which will eventually stabilize.
Learn more about your pool and equipment by searching intheswim.com for articles, blogs, videos, product specs, manuals and more. You'll be a pool expert in no time!